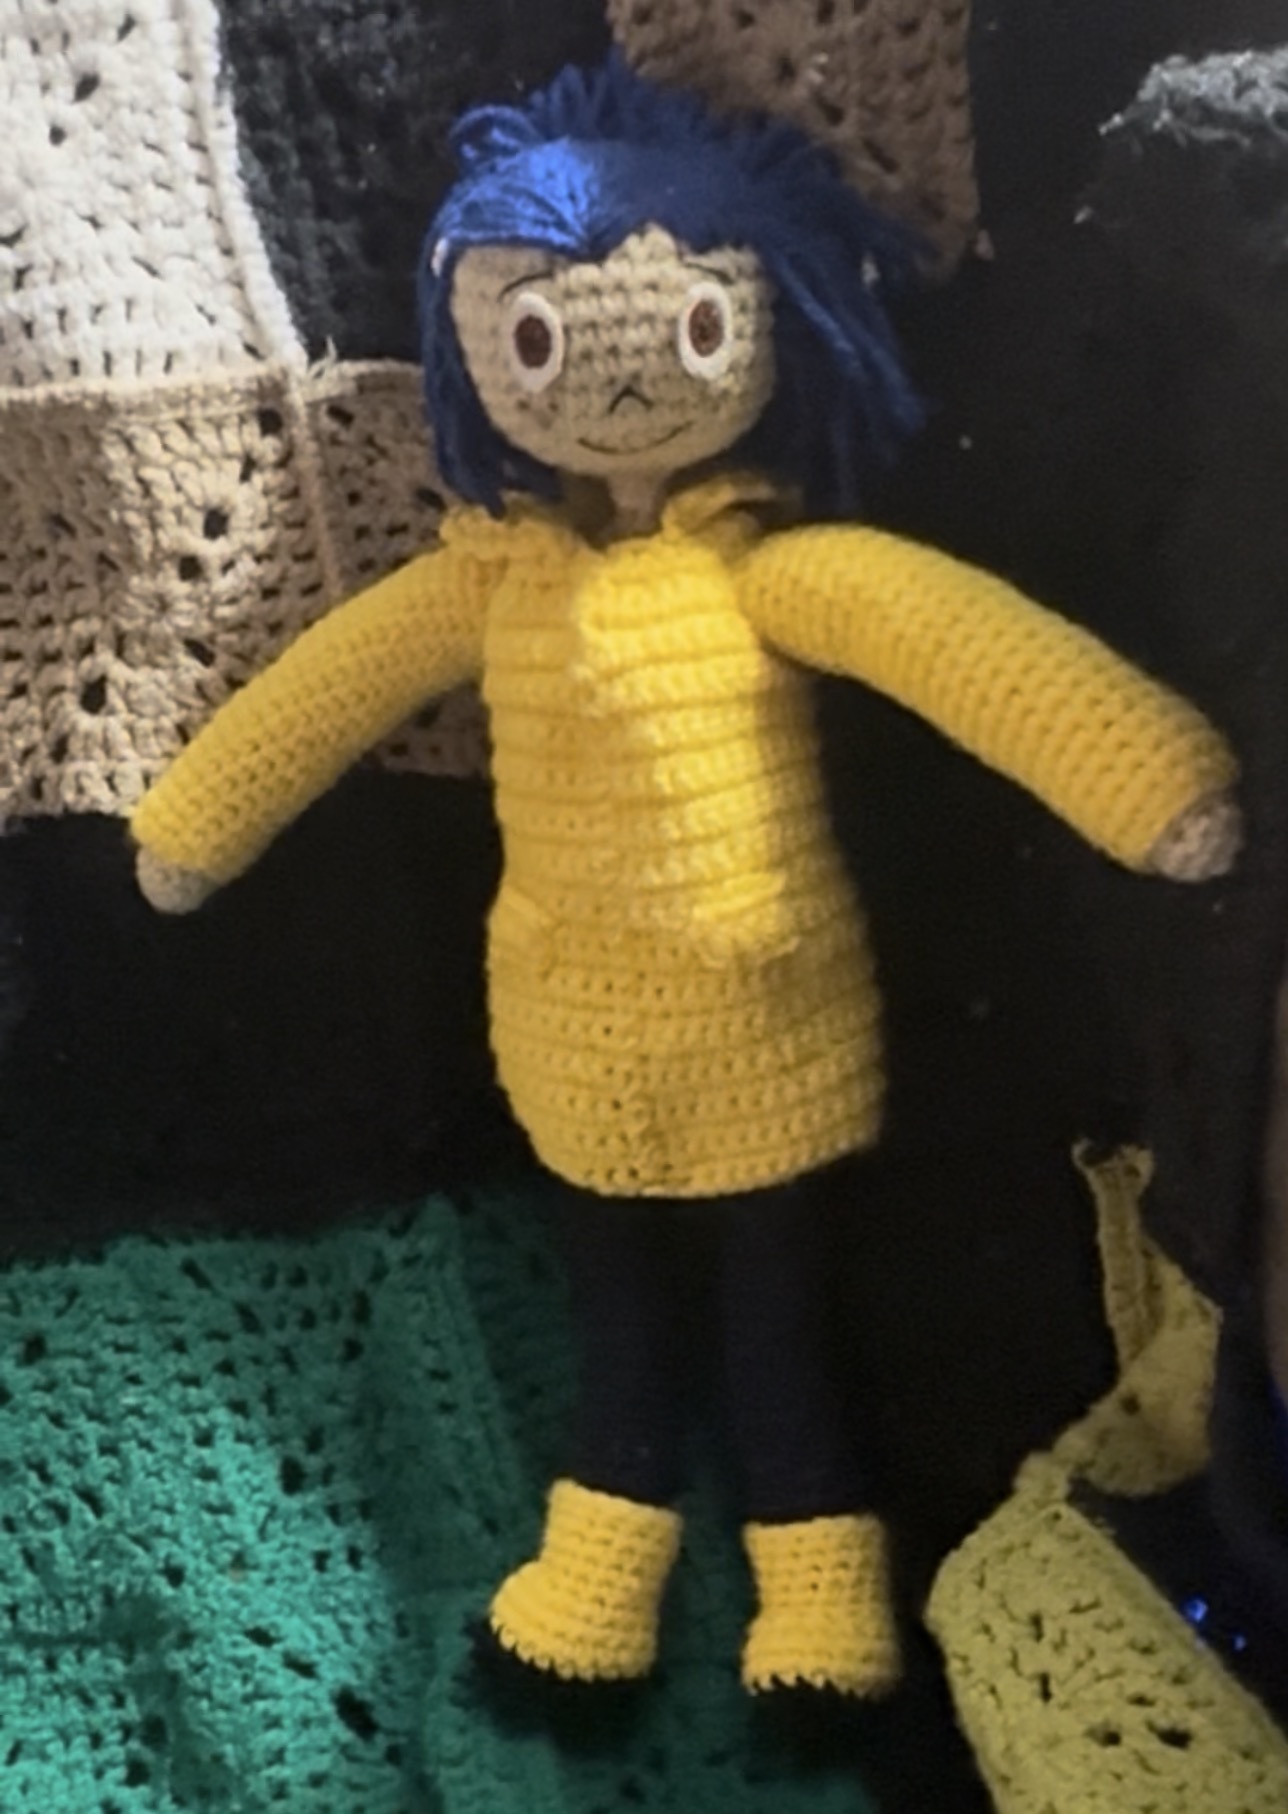
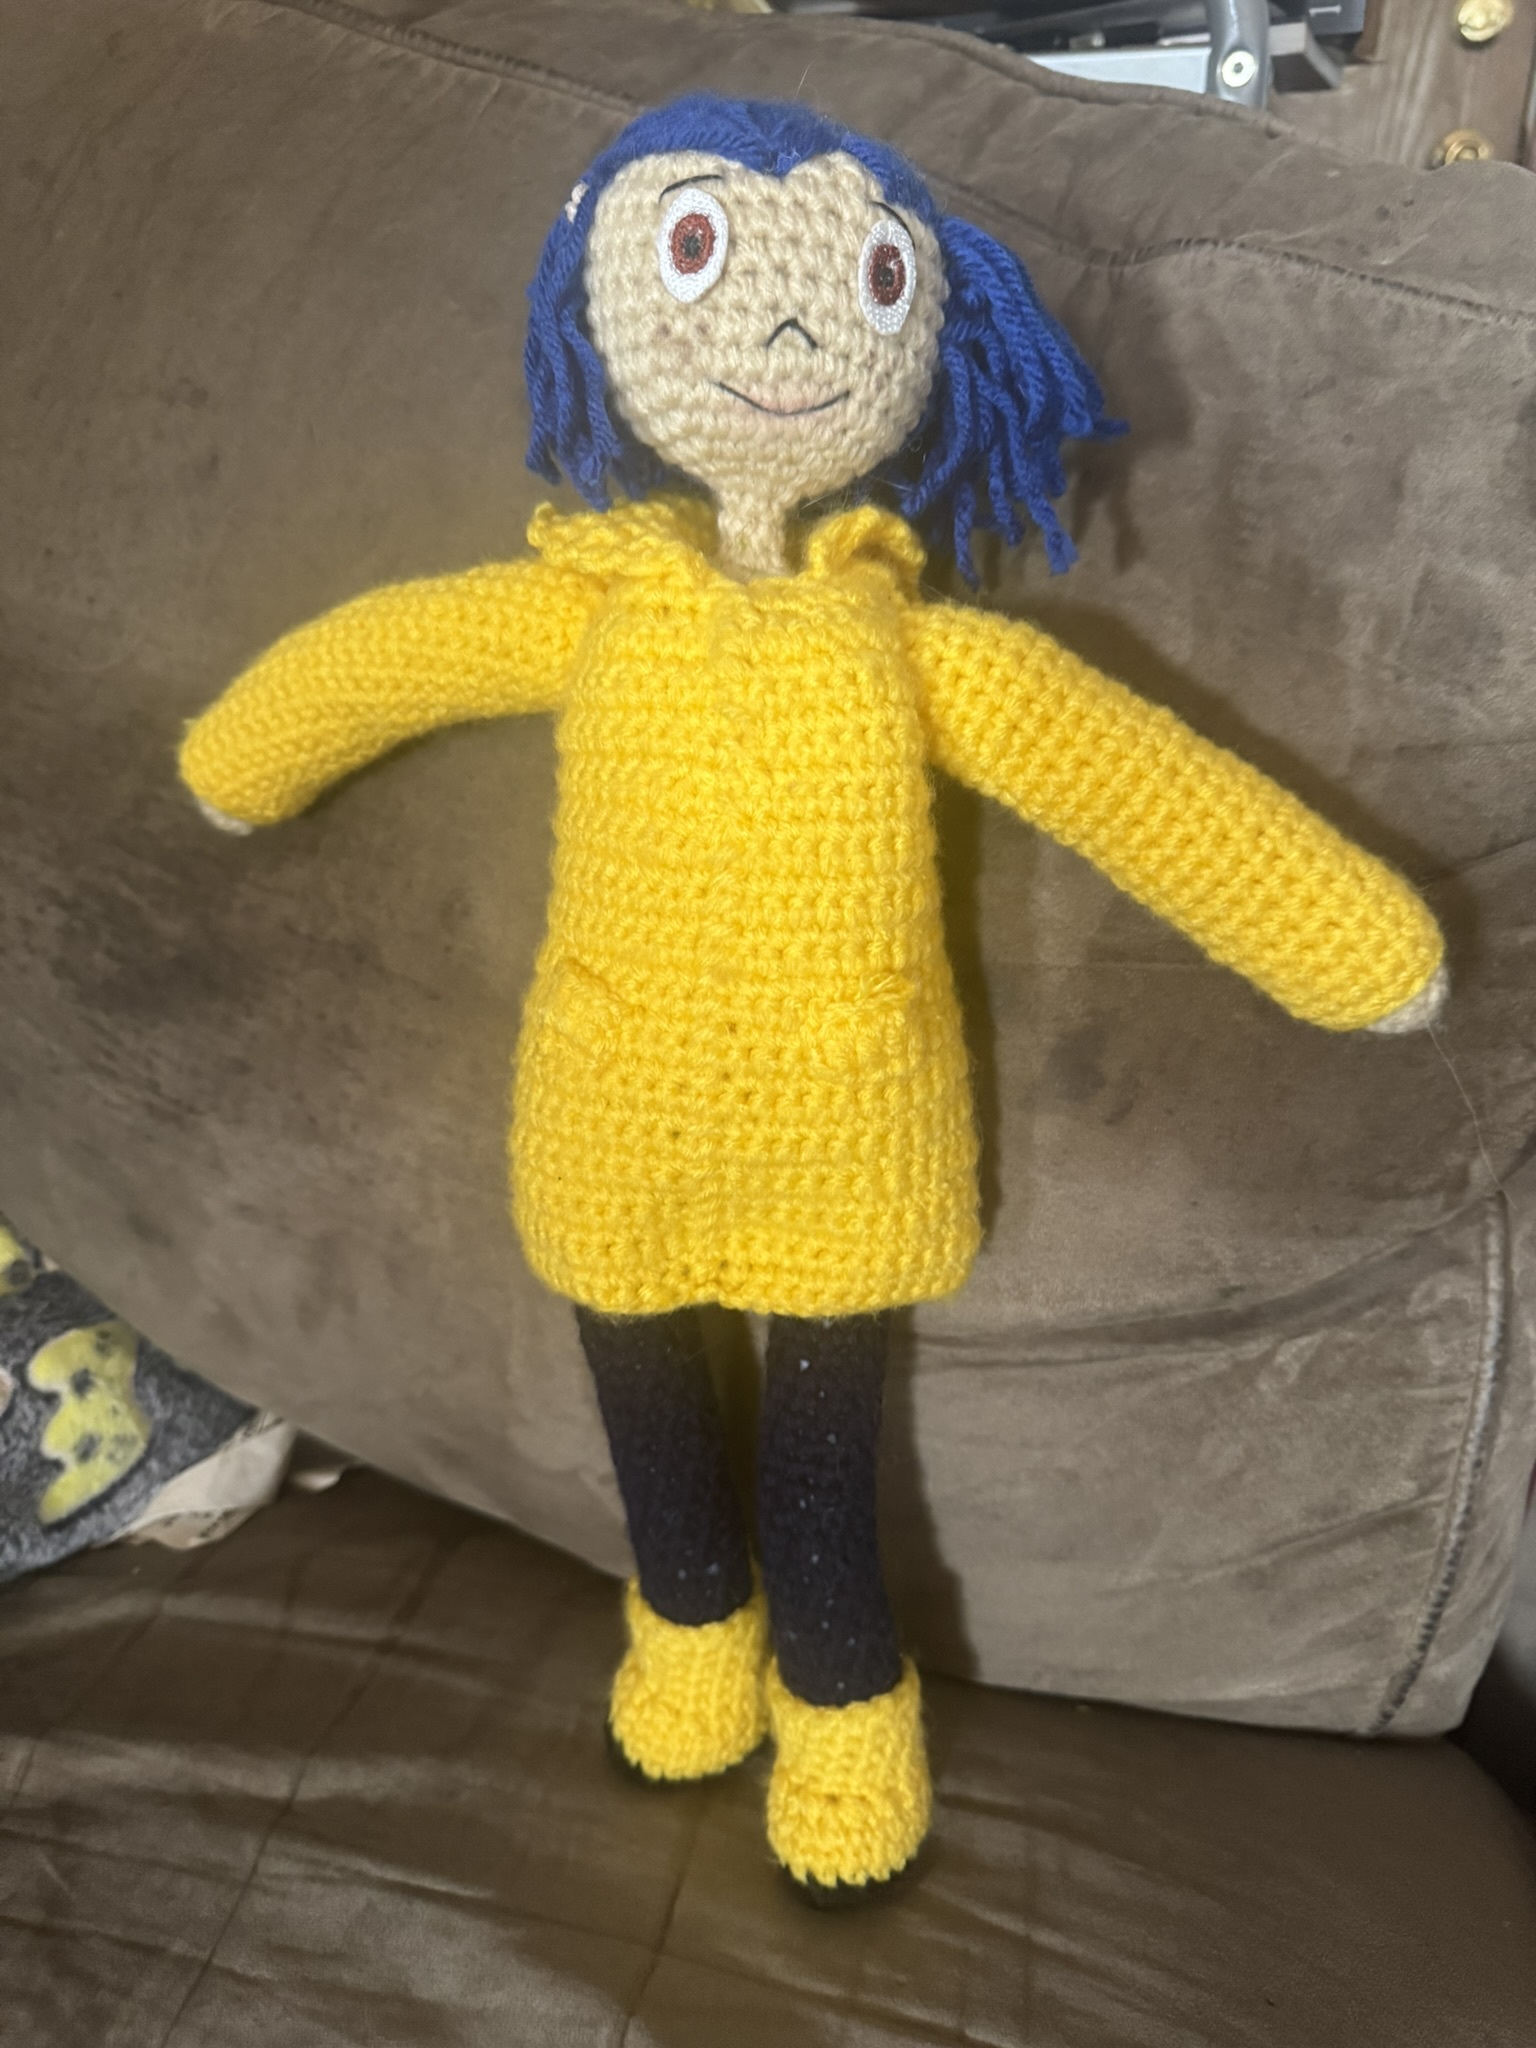
Making Coraline, Wybie, and the cat was so much fun! I enjoyed the movie when it came out in 2009. I rewatched it too many times to say. Now my kids enjoy that same DVD, and my daughter wanted to dress up as Coraline for Halloween. I figured I would do my trunk for trunk-or-treat with the same theme. I spent many hours making all this! The Coraline garden I made with tissue paper, toothpicks, and glue. I spent close to 40 hours making over 850 tissue flowers.
Making the entire thing was fun! Creating these patterns for the characters is something I’ll always cherish, and I’m excited to share with you. Please acknowledge that I created the pattern; it is not for resale! It is a copyright and do not take away from those who brought these characters to life. That is why my pattern on my blog is free!!!
My YouTube channel has shorts of me making these characters as well. If you’re interested in seeing some of the process, check them out! And if you have a question, comment on one of them, and I will be happy to answer.
3.5 MM hook
Yarn Colors
Oatmeal, Dark Blue, Blue, Yellow.
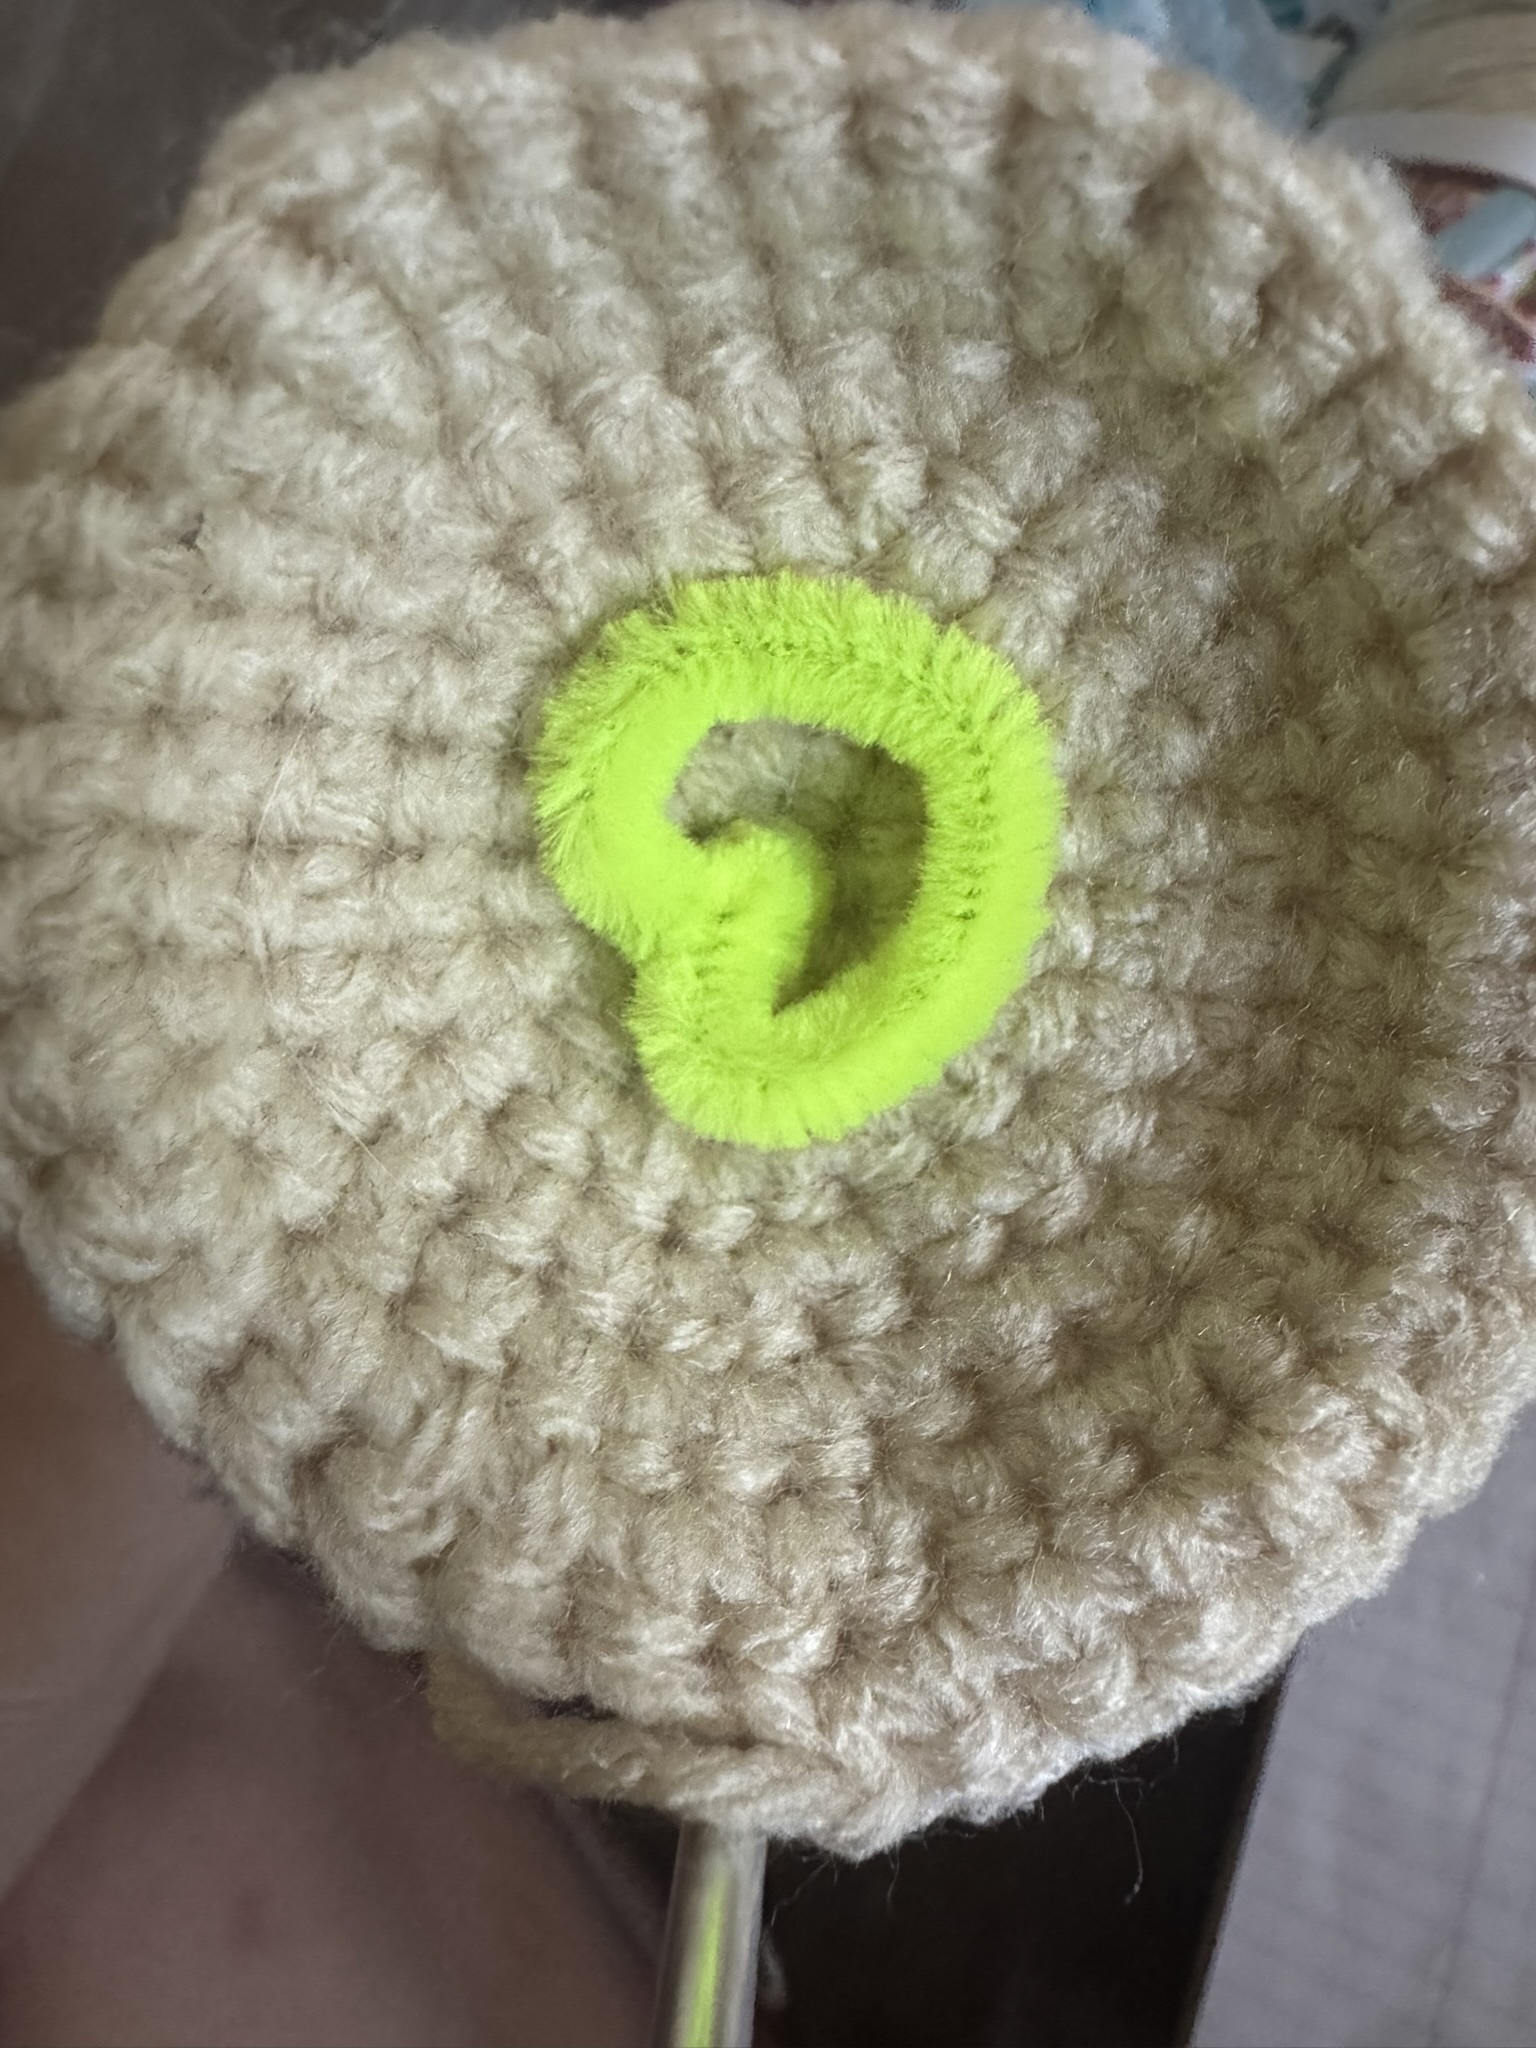
Pipe cleaners, scissors, embroidery or felt eyes, crochet sewing needle.
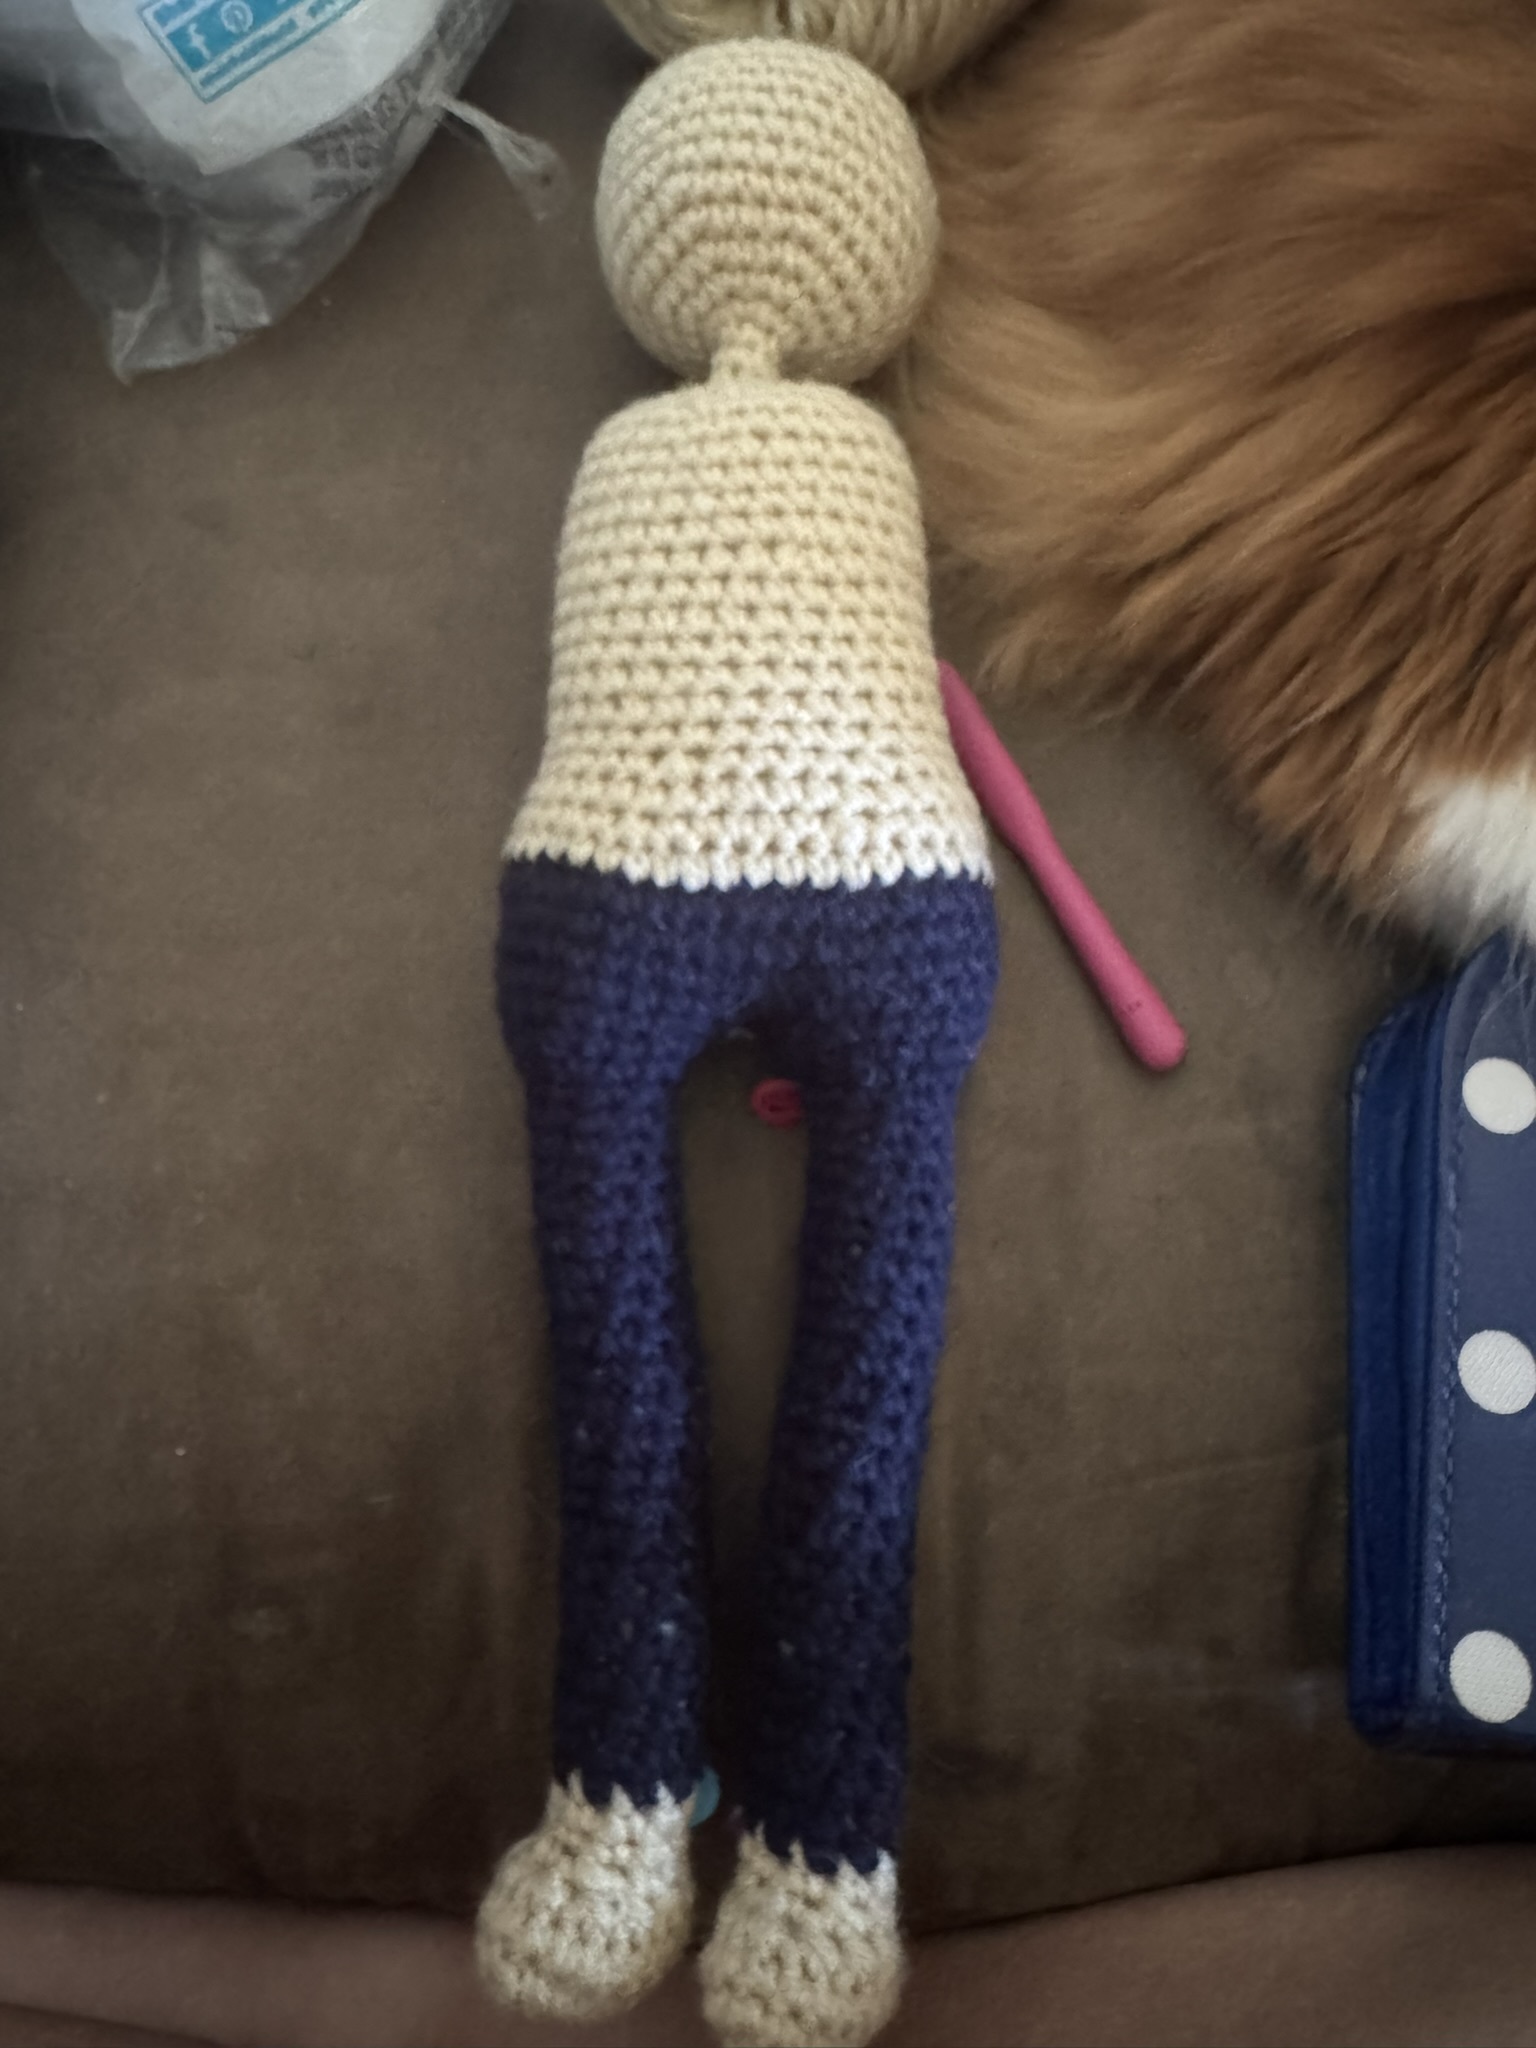
Legs (Make 2) Oatmeal yarn
R1: Ch 6 (6)
-Working on both sides of the chain.
R2: 2 SC in each ST. (18) It’ll be an oval shape.
R3 - R4: SC around (18)
R5: SC in the next 3 ST, DEC 6 times, SC in the last 3 ST. (12)
R6: SC in the next 4 ST, DEC 2 times, SC in the last 4 ST. (10)
-Stuff the foot.
R7: SC around (10)
-Switch to Dark blue yarn-
R8- R30: SC around (10)
R31: SC in 1 ST, INC in the next, repeat around (15)
R32: SC in 2 ST, INC in the next, repeat around (20)
- 1st leg cut off the yarn and tie off, we will use this end as a point to combined the second leg to it.
- 2nd leg you’ll be crocheting both legs together, then continue working into the body.
R33: SC in each ST, when you reach ST 16 move to the same ST on the other leg. SC around, back to the other leg, SC in the last 4 ST. (40)
R34: SC in the next 14 ST, INC in the next, SC in the next 19 ST, INC in the next 2. SC in the last 4 ST. (42)
R35 – R37: SC around (42)
-Switch to Oatmeal yarn.
R38: SC around (42)
R39: SC in the next 5 ST, DEC in the next, repeat. (36)
R40 – R41: SC around (36)
R42: SC in 4 ST, DEC in the next, repeat around. (30)
R43 – R 54: SC around (30)
R55: SC in 3 ST, DEC in the next, repeat (24)
R56: SC in 2 ST, DEC in the next, repeat (18)
R57: SC in 1 ST, DEC in the next, repeat (12)
- Stuff and shape the shoulders!
R58: DEC 6 times (6)
- Take a pipe cleaner or some sort of shapable metal. Fold it into a T, the top of the T goes into he shoulders to give help give the neck stability.
R57 – R62: SC around (6)
R63: INC in each ST (12)
R64: SC in 1 ST, INC in the next, repeat (18)
R65: SC in 2 ST, INC in the next, repeat (24)
R66: SC in 3 ST, INC in the next, repeat (30)
R67: SC in 4 ST, INC in the next, repeat (36)
R68 – R73: SC around (36)
R74: SC in 4 ST, DEC in the next, repeat (30)
R75: SC in 3 ST, DEC in the next, repeat (24)
R76: SC in 2 ST, DEC in the next, repeat (18)
R77: SC in 1 ST, DEC in the next, repeat (12)
R78: DEC in each ST (6)
Cut the end and close the last row, tie off and weave some of the excess yarn into the body, cut off the rest of the yarn.
R1: Magic ring 4 (4)
R2: INC in each ST (8)
- Stuff as you go!
R3 -R25: SC around (8)
Tie off and leave a tail for sewing to the body.
In Yellow Yarn
R1: Ch 47, Ch 1 to turn (48)
R2 – R16: SC 47 St, Ch1 to turn (47)
R17: SC in 14 ST, DEC in the next, SC in 14 ST, DEC in the next, SC in the last 15, CH 1 to turn. (45)
R18 – R25: SC in each ST across, CH 1 to turn. (45)
R26: DEC, SC in the next 12, DEC in the next, SC in the next 12, DEC in the next ST, SC in the next 12 ST, DEC in the last, CH 1 to turn. (40)
R27 – R29: SC in each ST across, CH 1 to turn. (40)
These next two rows we’ll be making the arm hole.
R30: SC in the next 9 ST, SLST over 5 ST, SC in the next 12, SLST over 5 ST, SC in 9 ST, CH 1 to turn (40)
R31: SC in 9 ST, CH 9, Skip over those 5 SLST and connect the chain back to the project, SC in the 11 ST, Ch 9, Skip over those 5 SLST and connect the chin back to the project, SC in the last 9 ST, (47)
R32: DEC, SC in 1 ST, DEC, SC in the next 2 ST, SC over those 9 ST of the sleeve, DEC, SC in 2 ST, DEC, SC in 2 ST, DEC, SC in 9 ST over the hole, DEC, SC in 1 ST, DEC, SC in 1 ST, DEC, CH 1 to turn. (36)
R33: SC 3, DEC, repeat across, CH 1 to turn. (28)
R34: DEC 3 times, SC in 16 ST, DEC 3 times. (22)
Leave a long tail for sewing the jacket closed.
R1: CH 15, connect the last stitch with the first stitch to make a circle. Continue this project in rounds.
R2- R34: SC around (15)
R1: Magic Ring 6 (6)
R2: INC in each (12)
R3: SC in 1 ST, INC in the next, repeat around. (18)
R4: SC in 2 ST, INC in the next, repeat around. (24)
R5: SC in each ST around (24)
R6: SC in 3 ST, INC in the next, repeat (30)
R7: SC in 4, INC in the next, repeat around (36)
R8 – R9: SC around (36) We are done working in rounds, CH 1 to turn.
R10: SC 18, Ch 1 to turn (19)
Row 1: SC 6, Ch 1 to turn (6)
Row 2: DEC, SC in 4 ST, CH 1 to turn (5)
Row 3: DC, SC in 3 ST, CH 1 to turn (4)
Row 4: DEC, SC in 2 ST, CH 1 to turn (3)
Row 5: DEC, SC in 1 ST, CH 1 to turn (2)
Leave tail for sewing.
When you do the other side of the hood attach your yarn 6 ST’s from the opposite end. Then start at Row 1, and repeat till complete.
Make 2 starting with black yarn then switching to yellow yarn.
Start with black yarn.
R1: Ch 8, CH 1 to turn (8)
We are working around the entire chain. Starting on one side of the chain then working on the other to make an oval.
R2: 16 SC starting on one side of chain and working to the other side (16)
R3: INC, SC in 6 ST, INC 2 times, SC in 6 ST, INC (20)
Switch to yellow yarn.
R4: BLO SC in each ST around (20)
R5- R6: SC around (20)
R7: SC in the next 5 ST, DEC 5 times, SC in the next 5 ST. (15)
R8 – R12: SC around each ST (15)
Tie off and cut a tail weave into the boot or if you want to cut a longer tail you can attach the boot to the leg.
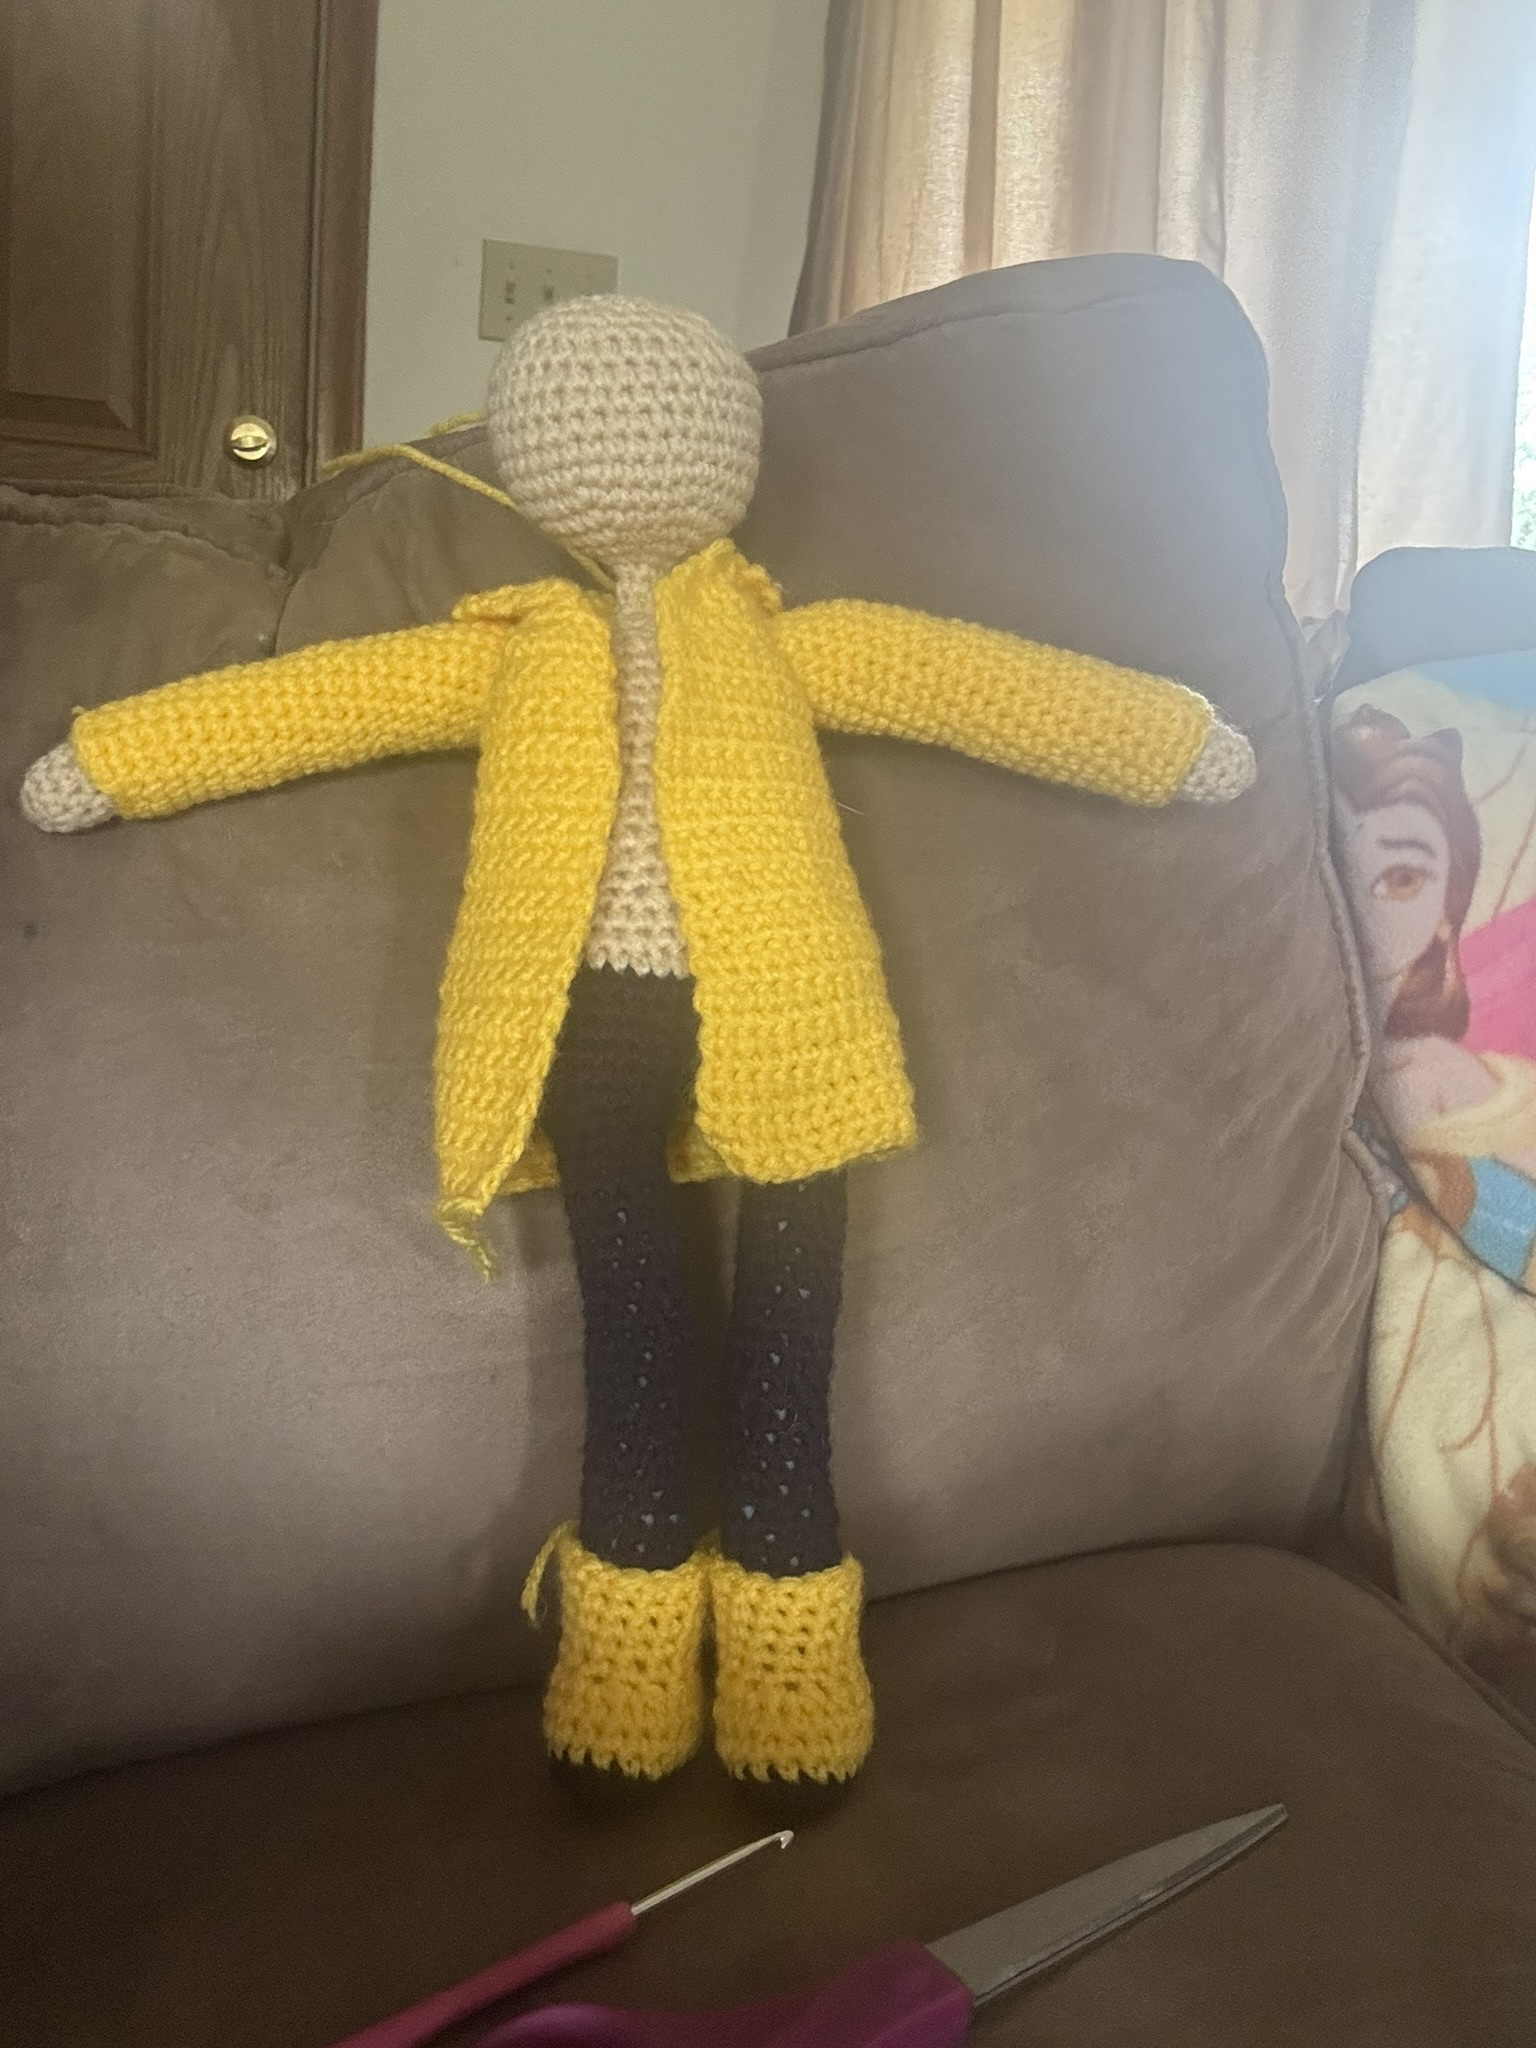
For Coralines eyes I used my embroidery machine and created a file for her eyes. You can use felt and glue the layers together or use black buttons!For assembly I attached the arms at the shoulders and pulled them to be the similar lengths. Coralines hair cut a lot of blue yarn. I couldn't tell you how many. If you think the hair looks to thin you can check out Wybie's pattern for the hair cap I made for him. You can do the same thing for Coraline. If not I prefer to knot each thread and attach it all to her head. Then after I will trim her hair to length.
Sew the jacket sleeves to the jacekt holes. They sleeves should be the same stitches as the holes in the jacket. Stitch those together. The boots will slide right on her feet and stay. The jacket I pull up the arms and I've used my crochet hook to pull the arm through the sleeve. Then I stitched the jacket closed once I have it looking how I want. The pockets I just made sure they looked even. The hood I stitched on after all of this because I wanted to make sure it would look even. I have the hood wrap around to the front and cross to make it look like the top of the jacket is folded over. Then the hood sits nicely on her back. It would be able to go on her head. It is for looks only.For his face use embroidery thread and give him a smile, nose, and eyebrows