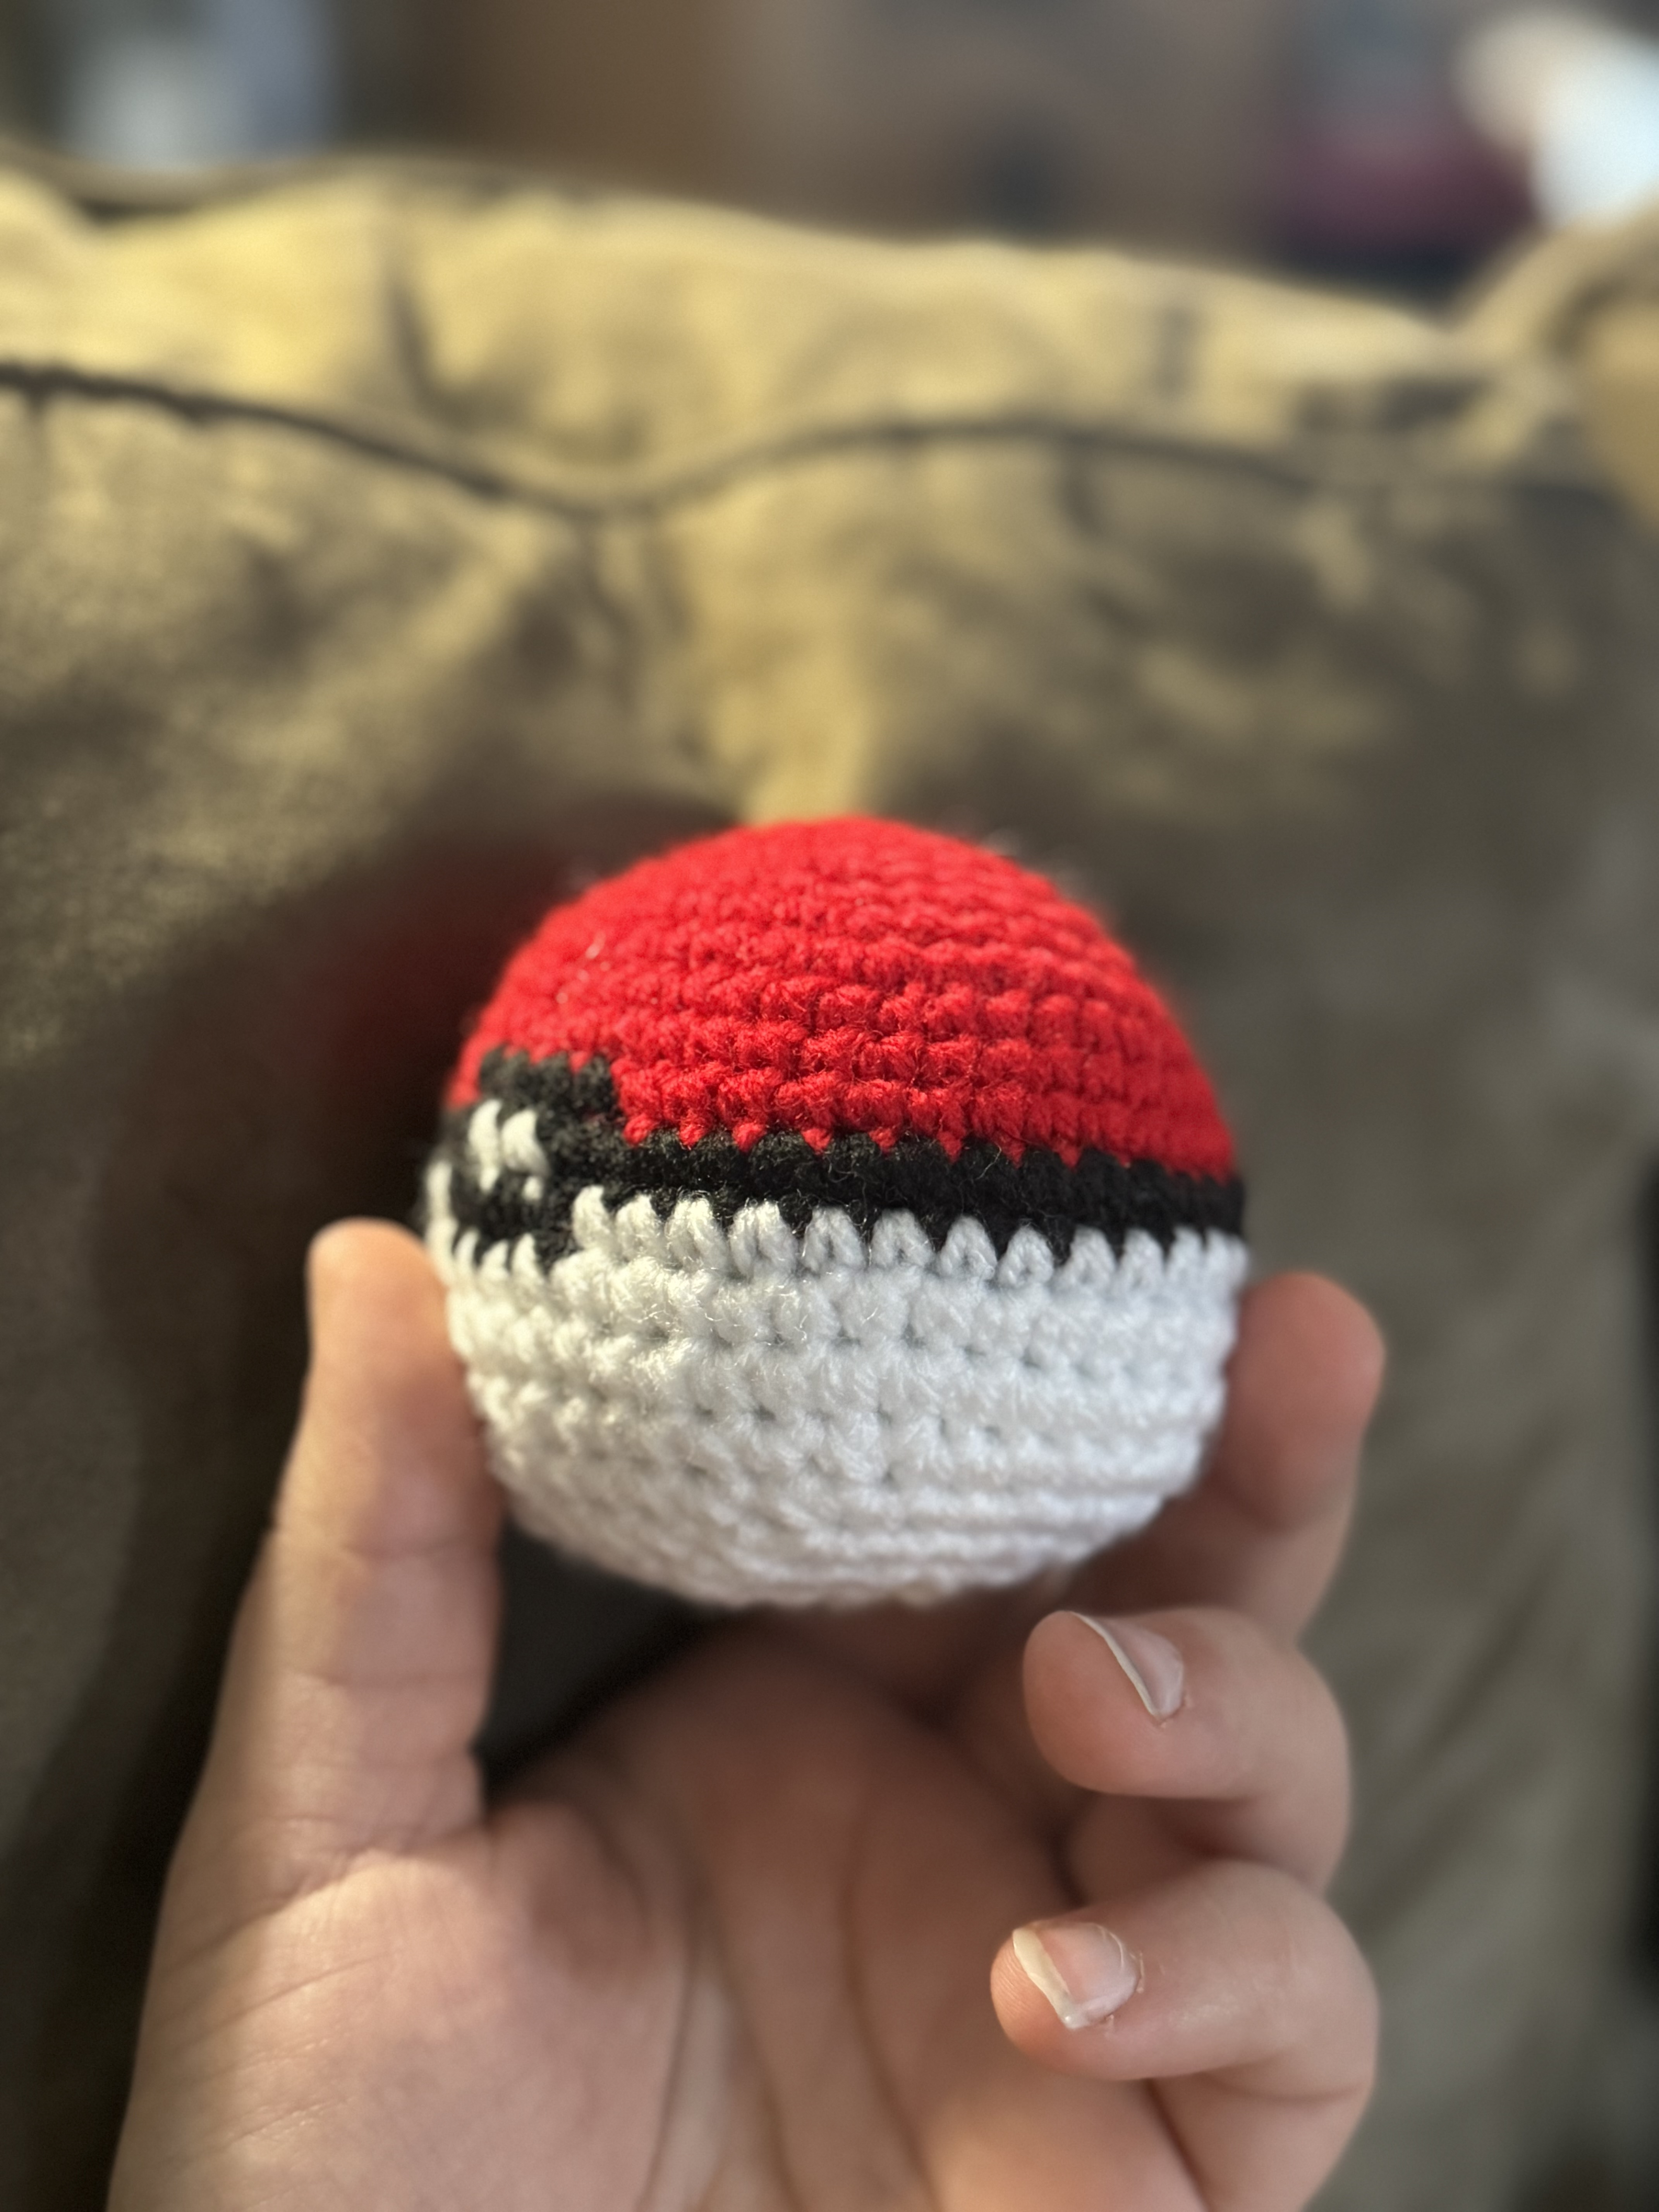
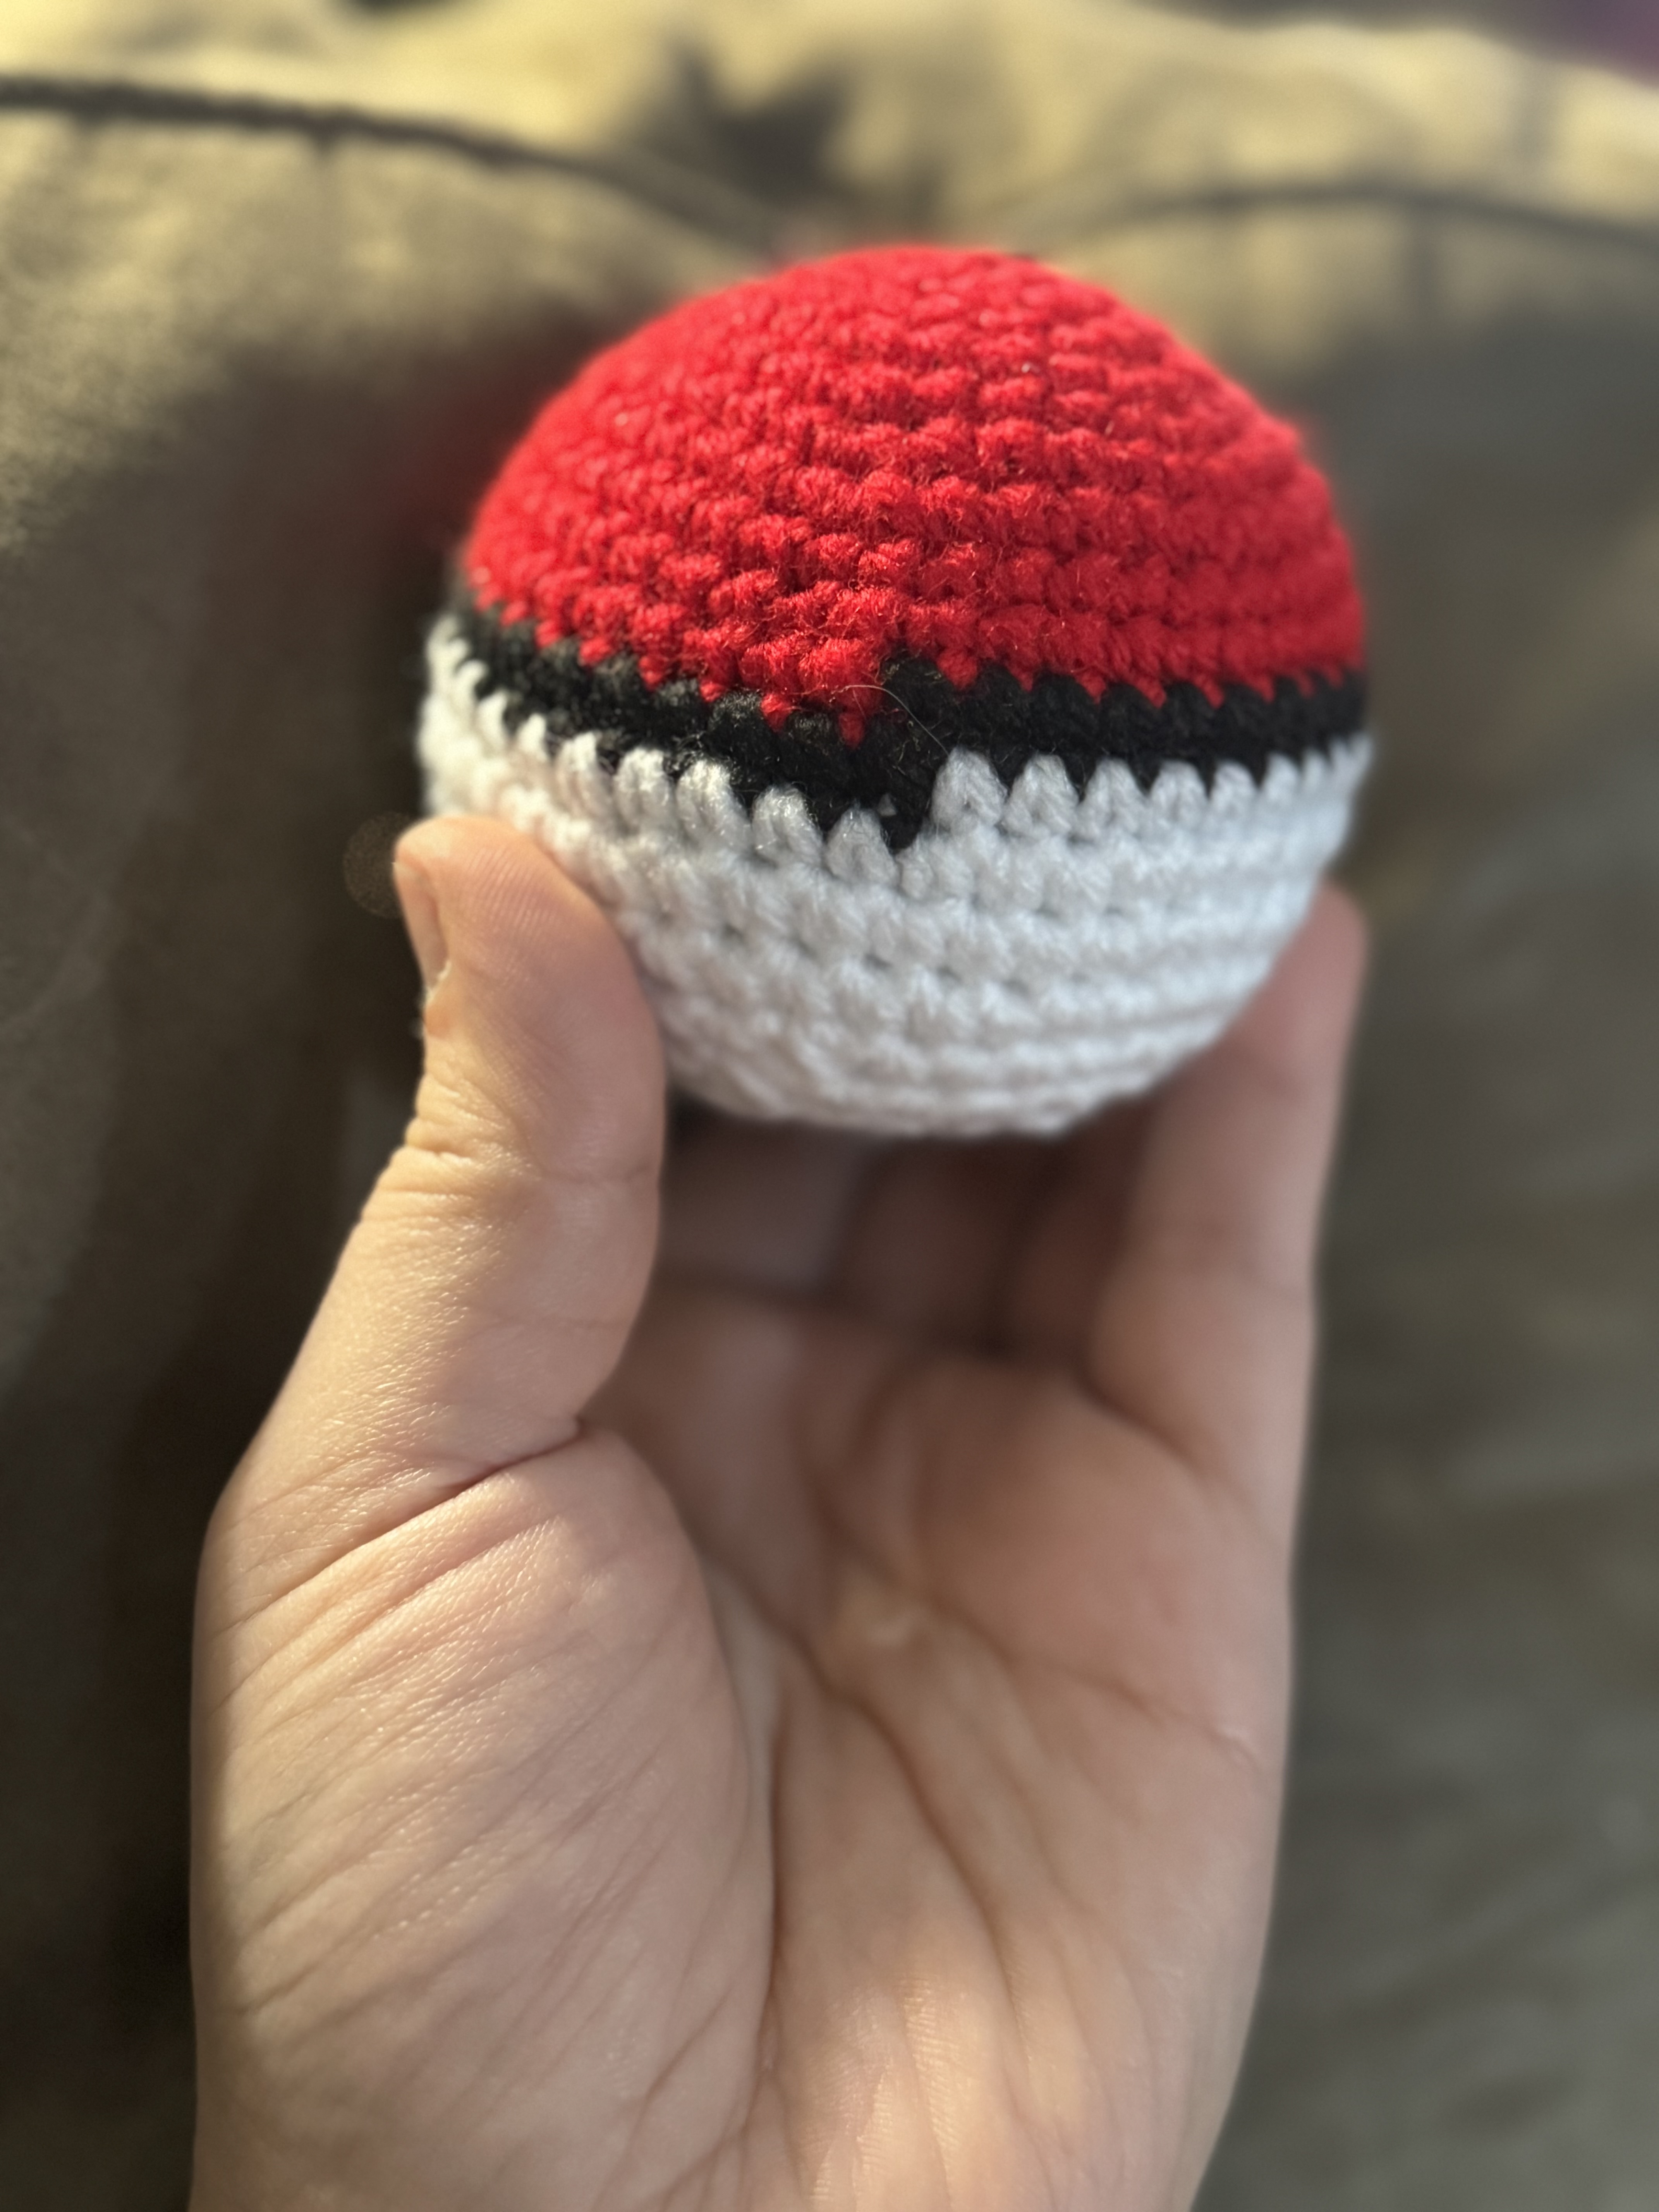
These patterns are simple to make. They can also be a hot item at craft shows.
These two items were a hot item at my table for a craft show I did in November. It was a santa shop at a elementry school. Kids loved them! The emoji's I made four different faces.
I will add the different faces and the steps to make a heart accessories for them soon. The pokeballs were just the standard red regular ball. I plan to make different pokeballs in the future. Lately my schedule is jammed packed now that my first book is published.
I certainly underestimated the amount of marketing I will need to do to try and grow my audience for my book. But I will never stop creating my crochet items because this is something I have loved doing for so long. <3
Another thing that I love about these patterns is It helped me practice the color changing method in the pokeball. Also embroiderying the faces on the emojis. Embroiderying on my crochet items has always been my weakest ability. Most of the time my faces turned out like they should be a meme that said NAILED IT. lol
Thankfully that isn't the case anymore. I hope you all enjoy the patterns.
Emoji Crochet Pattern
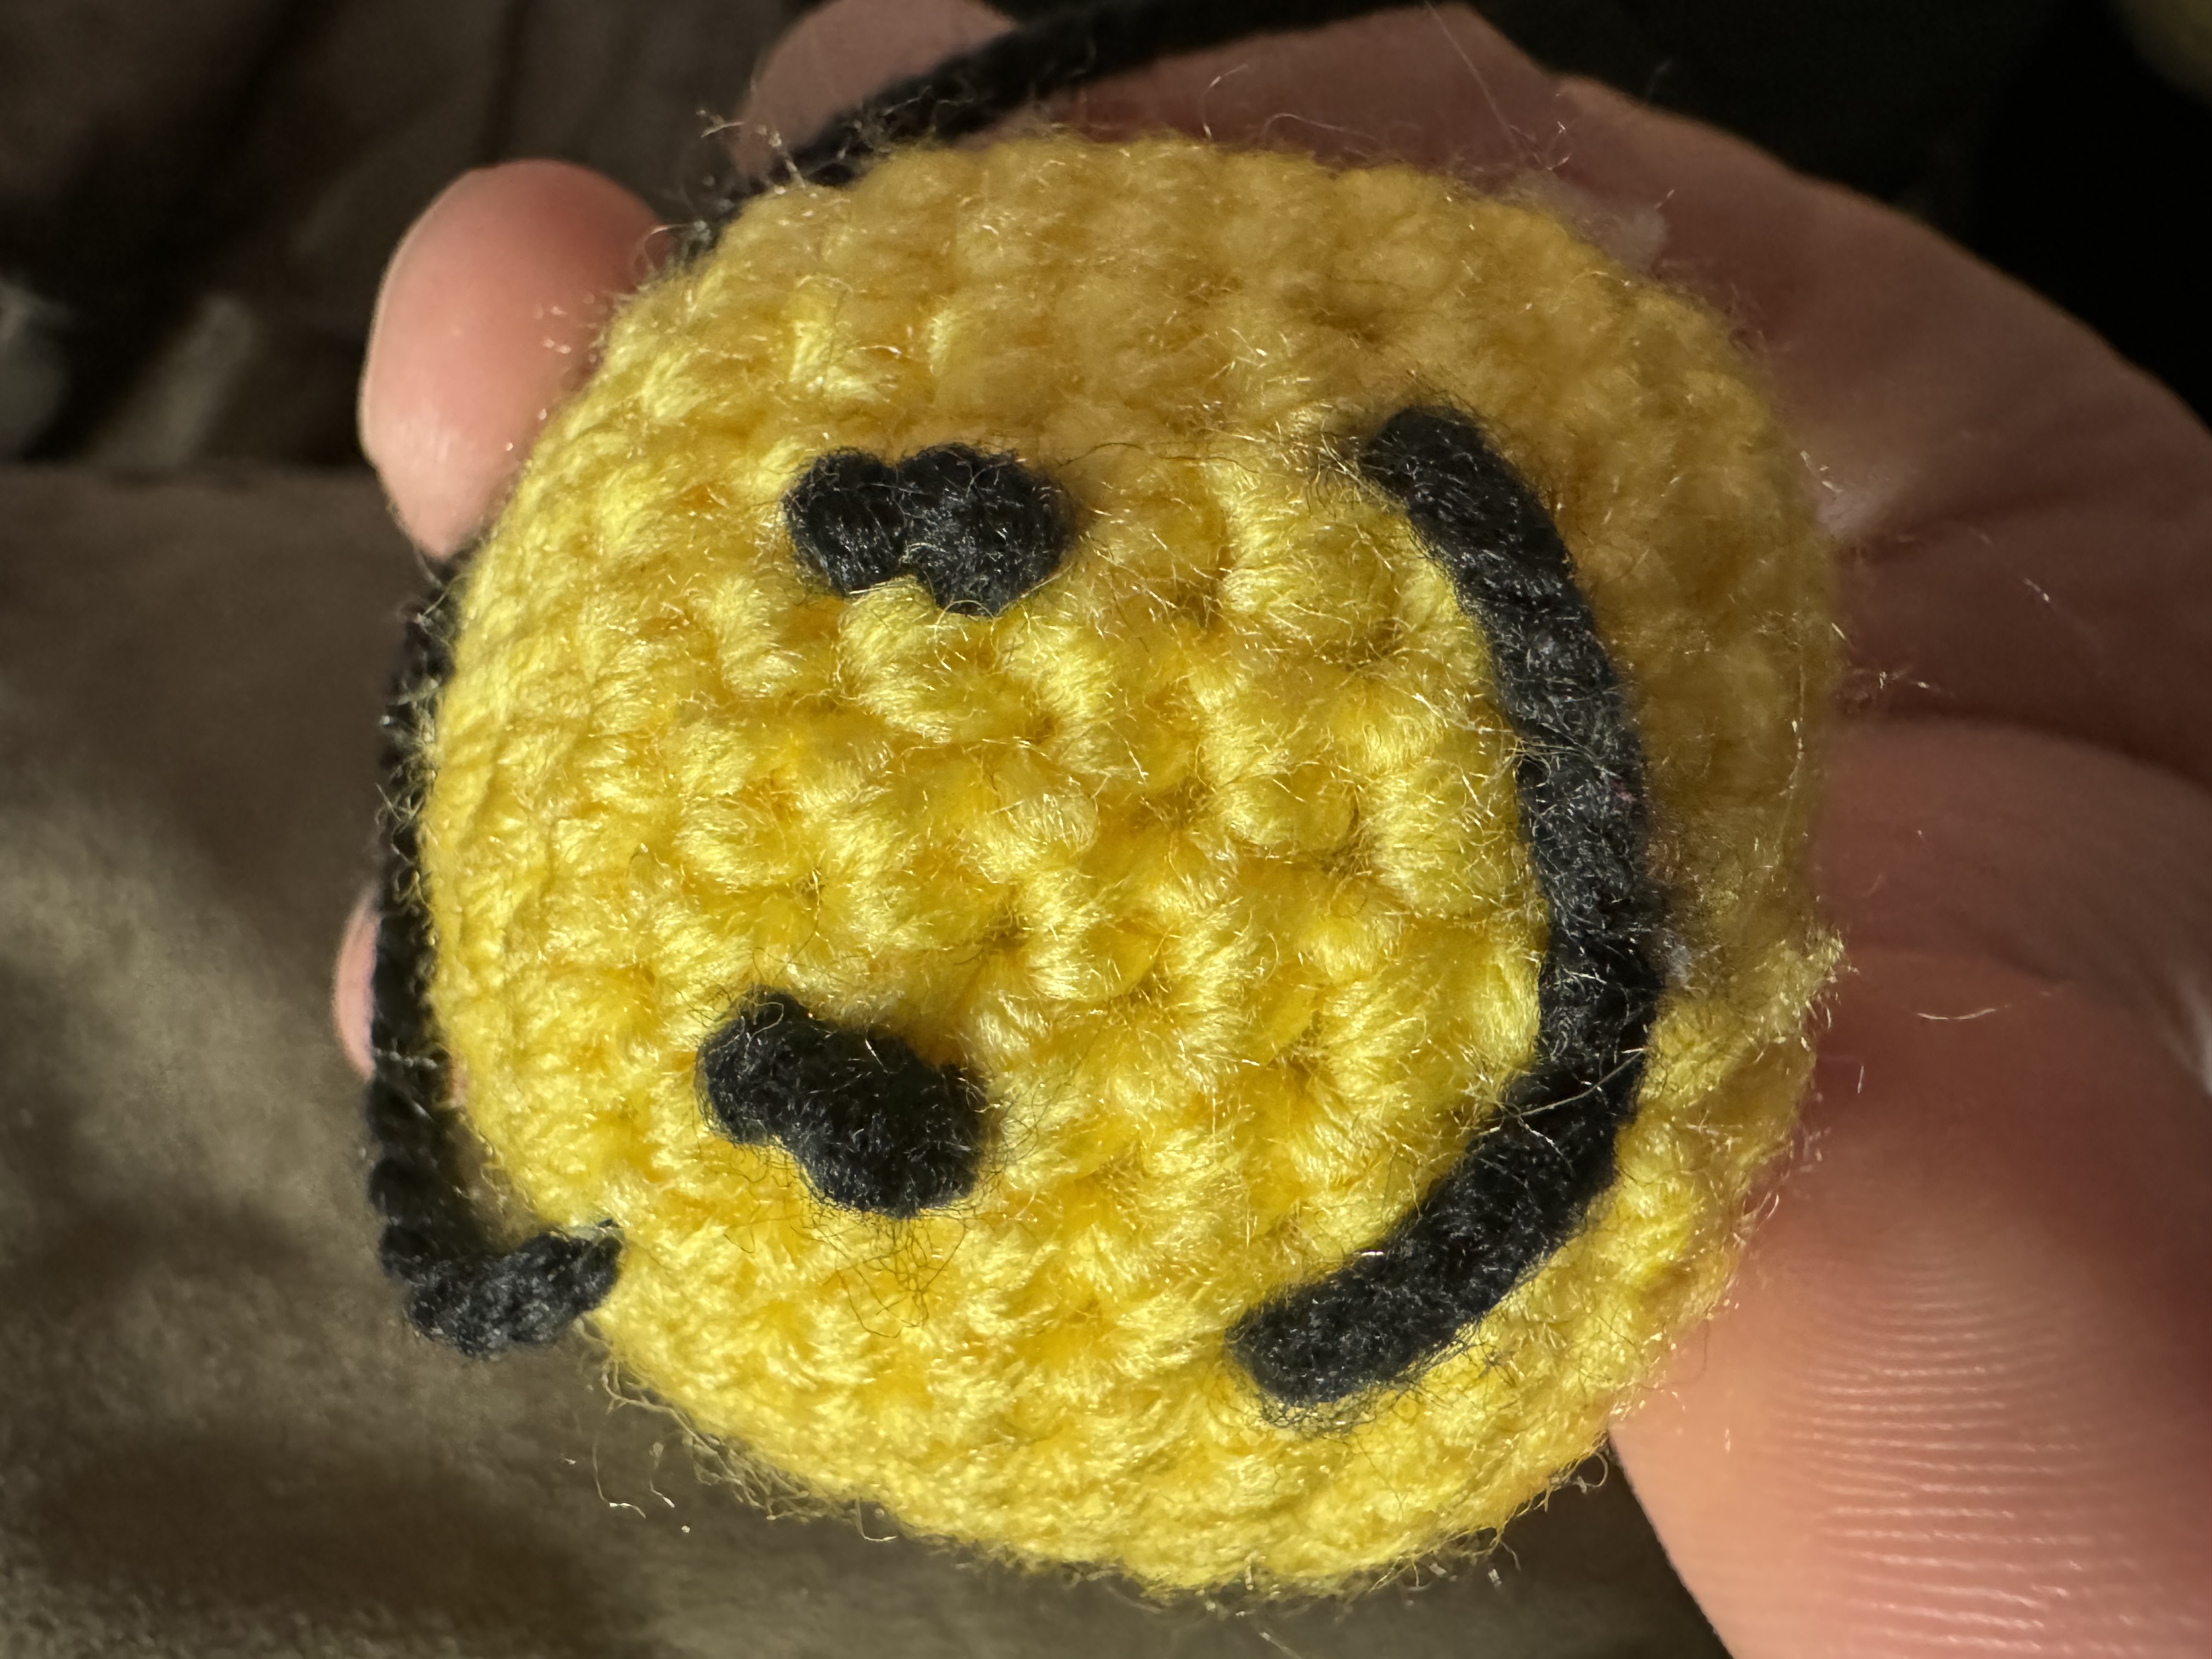
The body
3.25 mm hook D
medium weighted yarn
Row 1: Make a magic ring of 6 (6)
Row 2: INC in each SC around (12)
Row 3: SC 1 then INC in the next. repeat around (18)
Row 4: SC in the next two, INC in the next. reapeat around (24)
Row 5: SC in the next three, INC in the next. repeat around (30)
Row 6-12: SC in each ST around. (30)
Row 13: SC in the next 3, DEC in the next. repeat around (24)
Row 14: SC in the next 2, DEC in the next. repeat around (18)
Row 15: SC in 1 ST, DEC in the next. repeat around (12)
Row 16: DEC in each stitch around. (6)
Fasten off and weave the yarn through and pull tight closing the hole.
Cut a long strand of black yarn. I haven’t used embroidery yarn for the emojis because I feel it it too thin. But if you want to youre welcome too and I would love to see how they turn out.
I start with the smile. I weave in at row 9 and bring it out in the next stitch so the yarn is on the outside of the project.
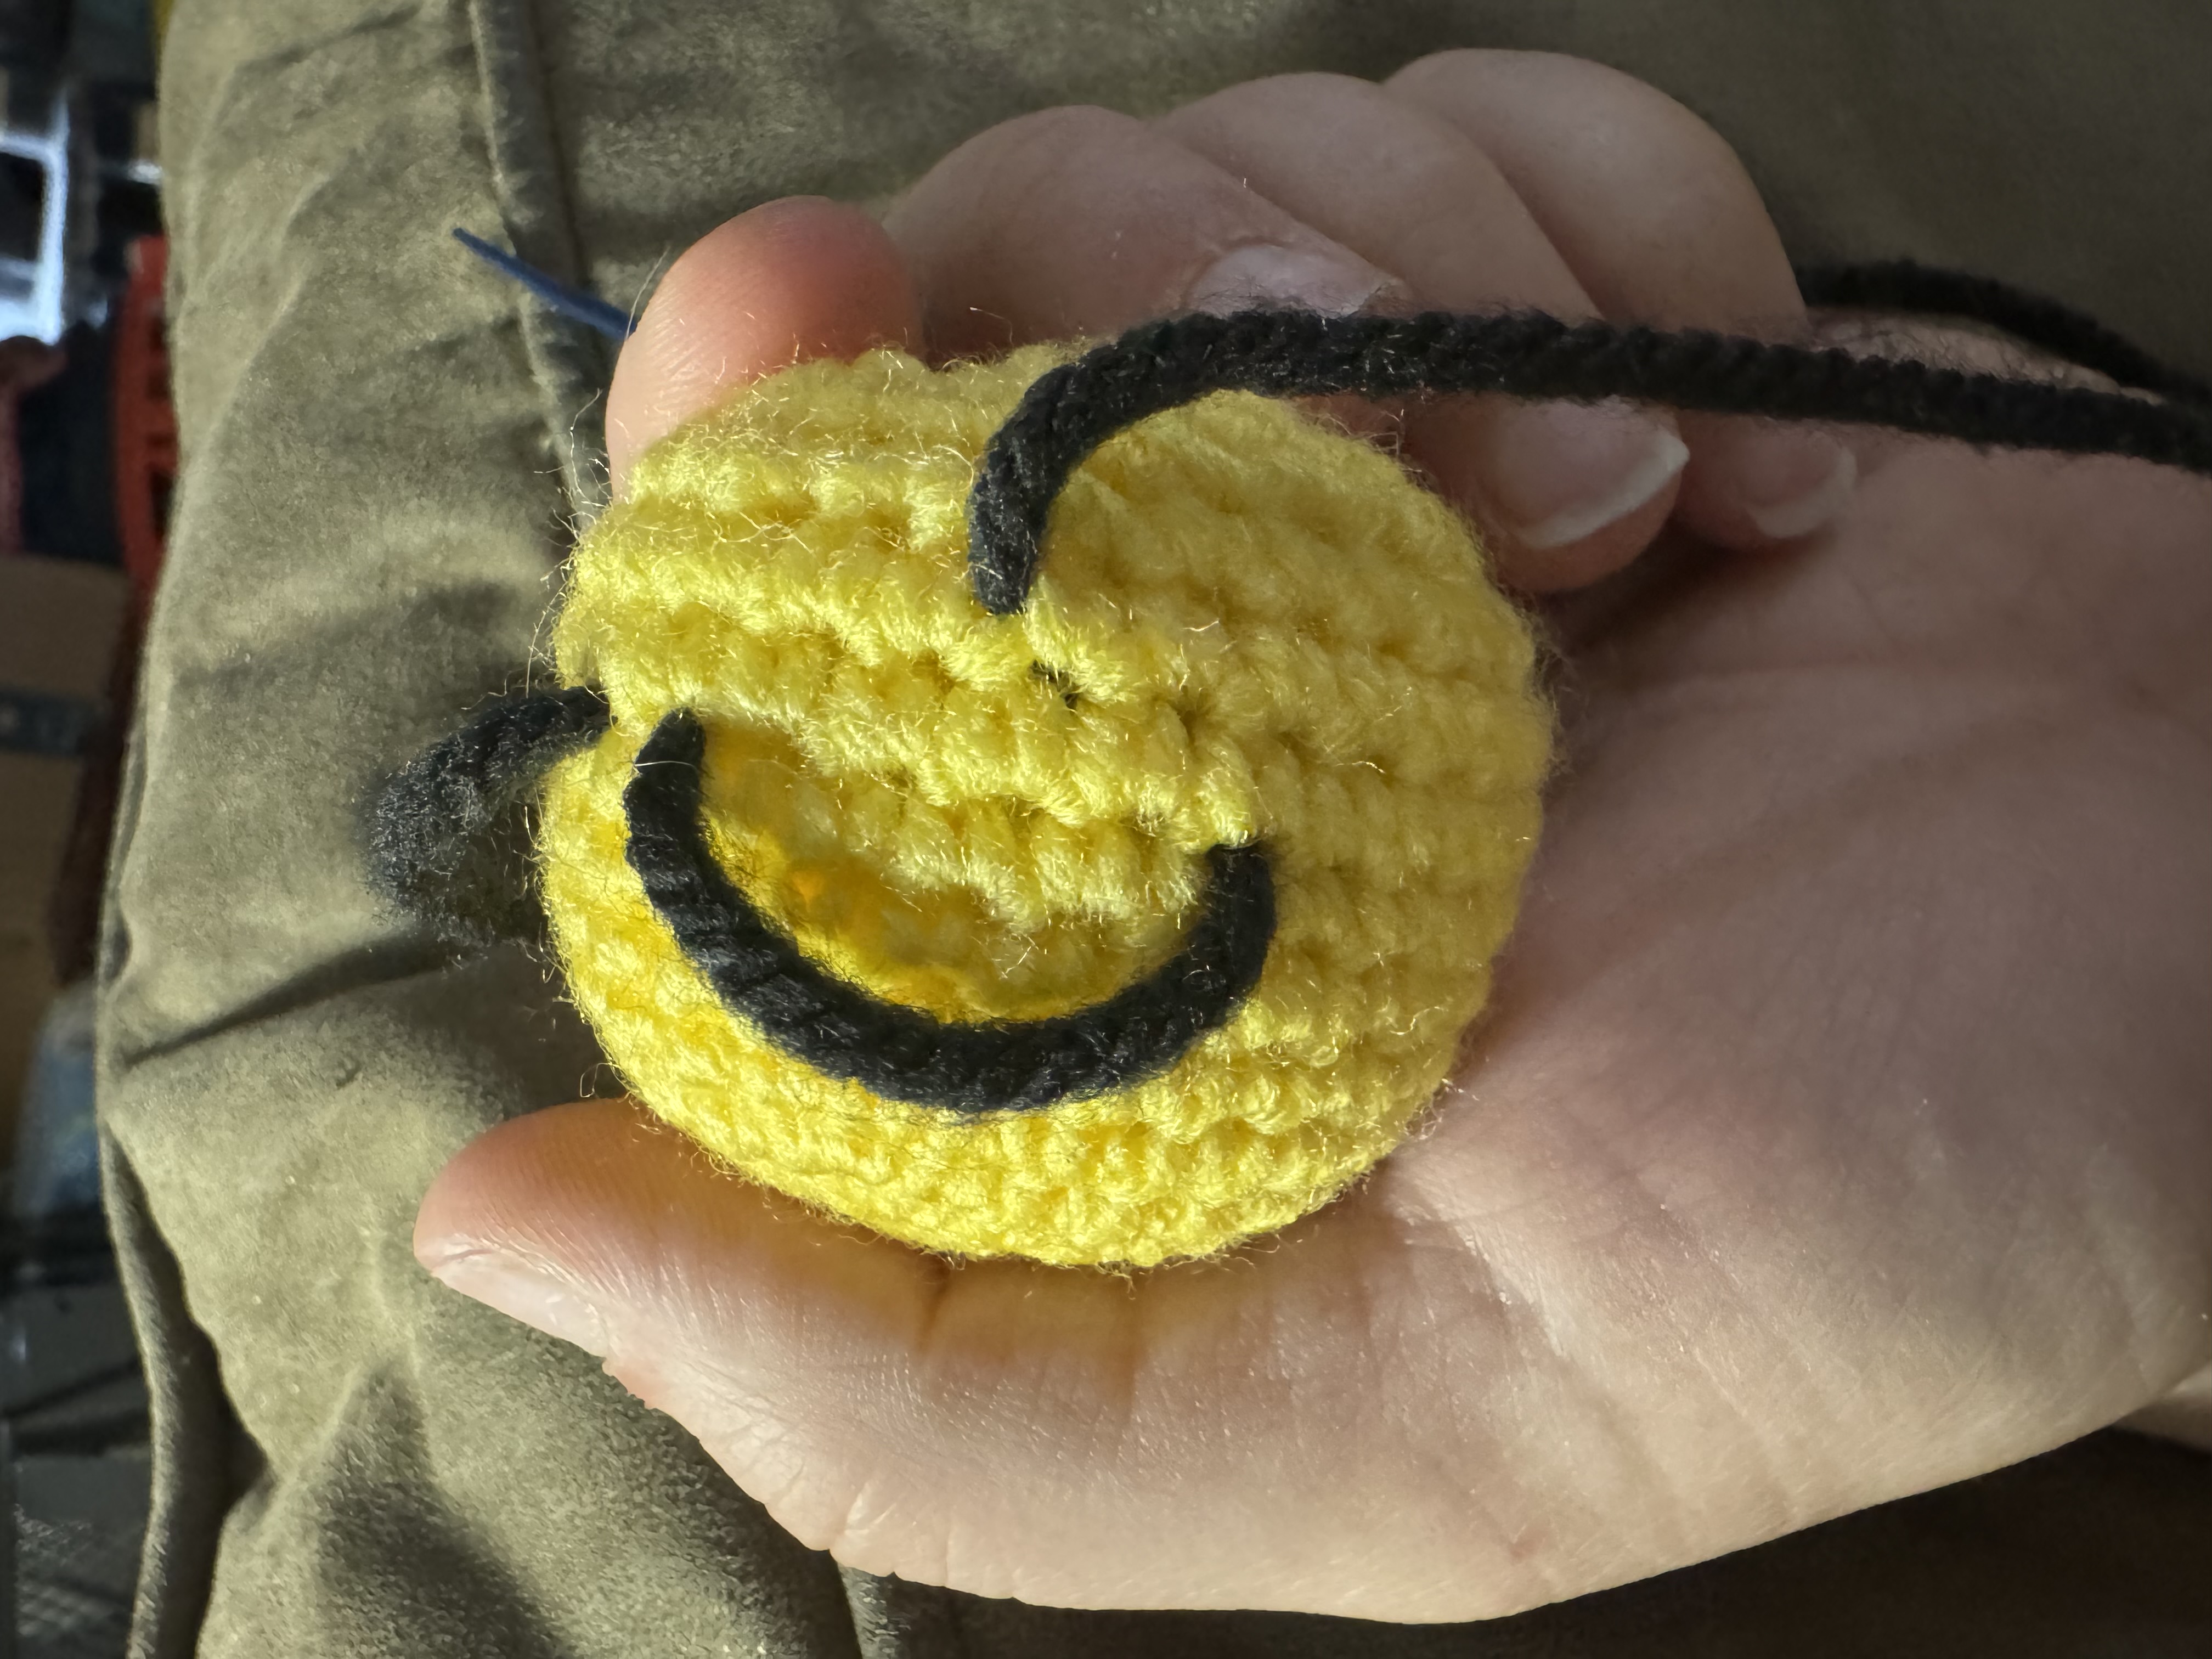
I skip 6 sttches and then come out in row 11 in the middle of 6 stitches (3 stitches in between). This is going to loop around the yarn that stretches across 6 stitches.
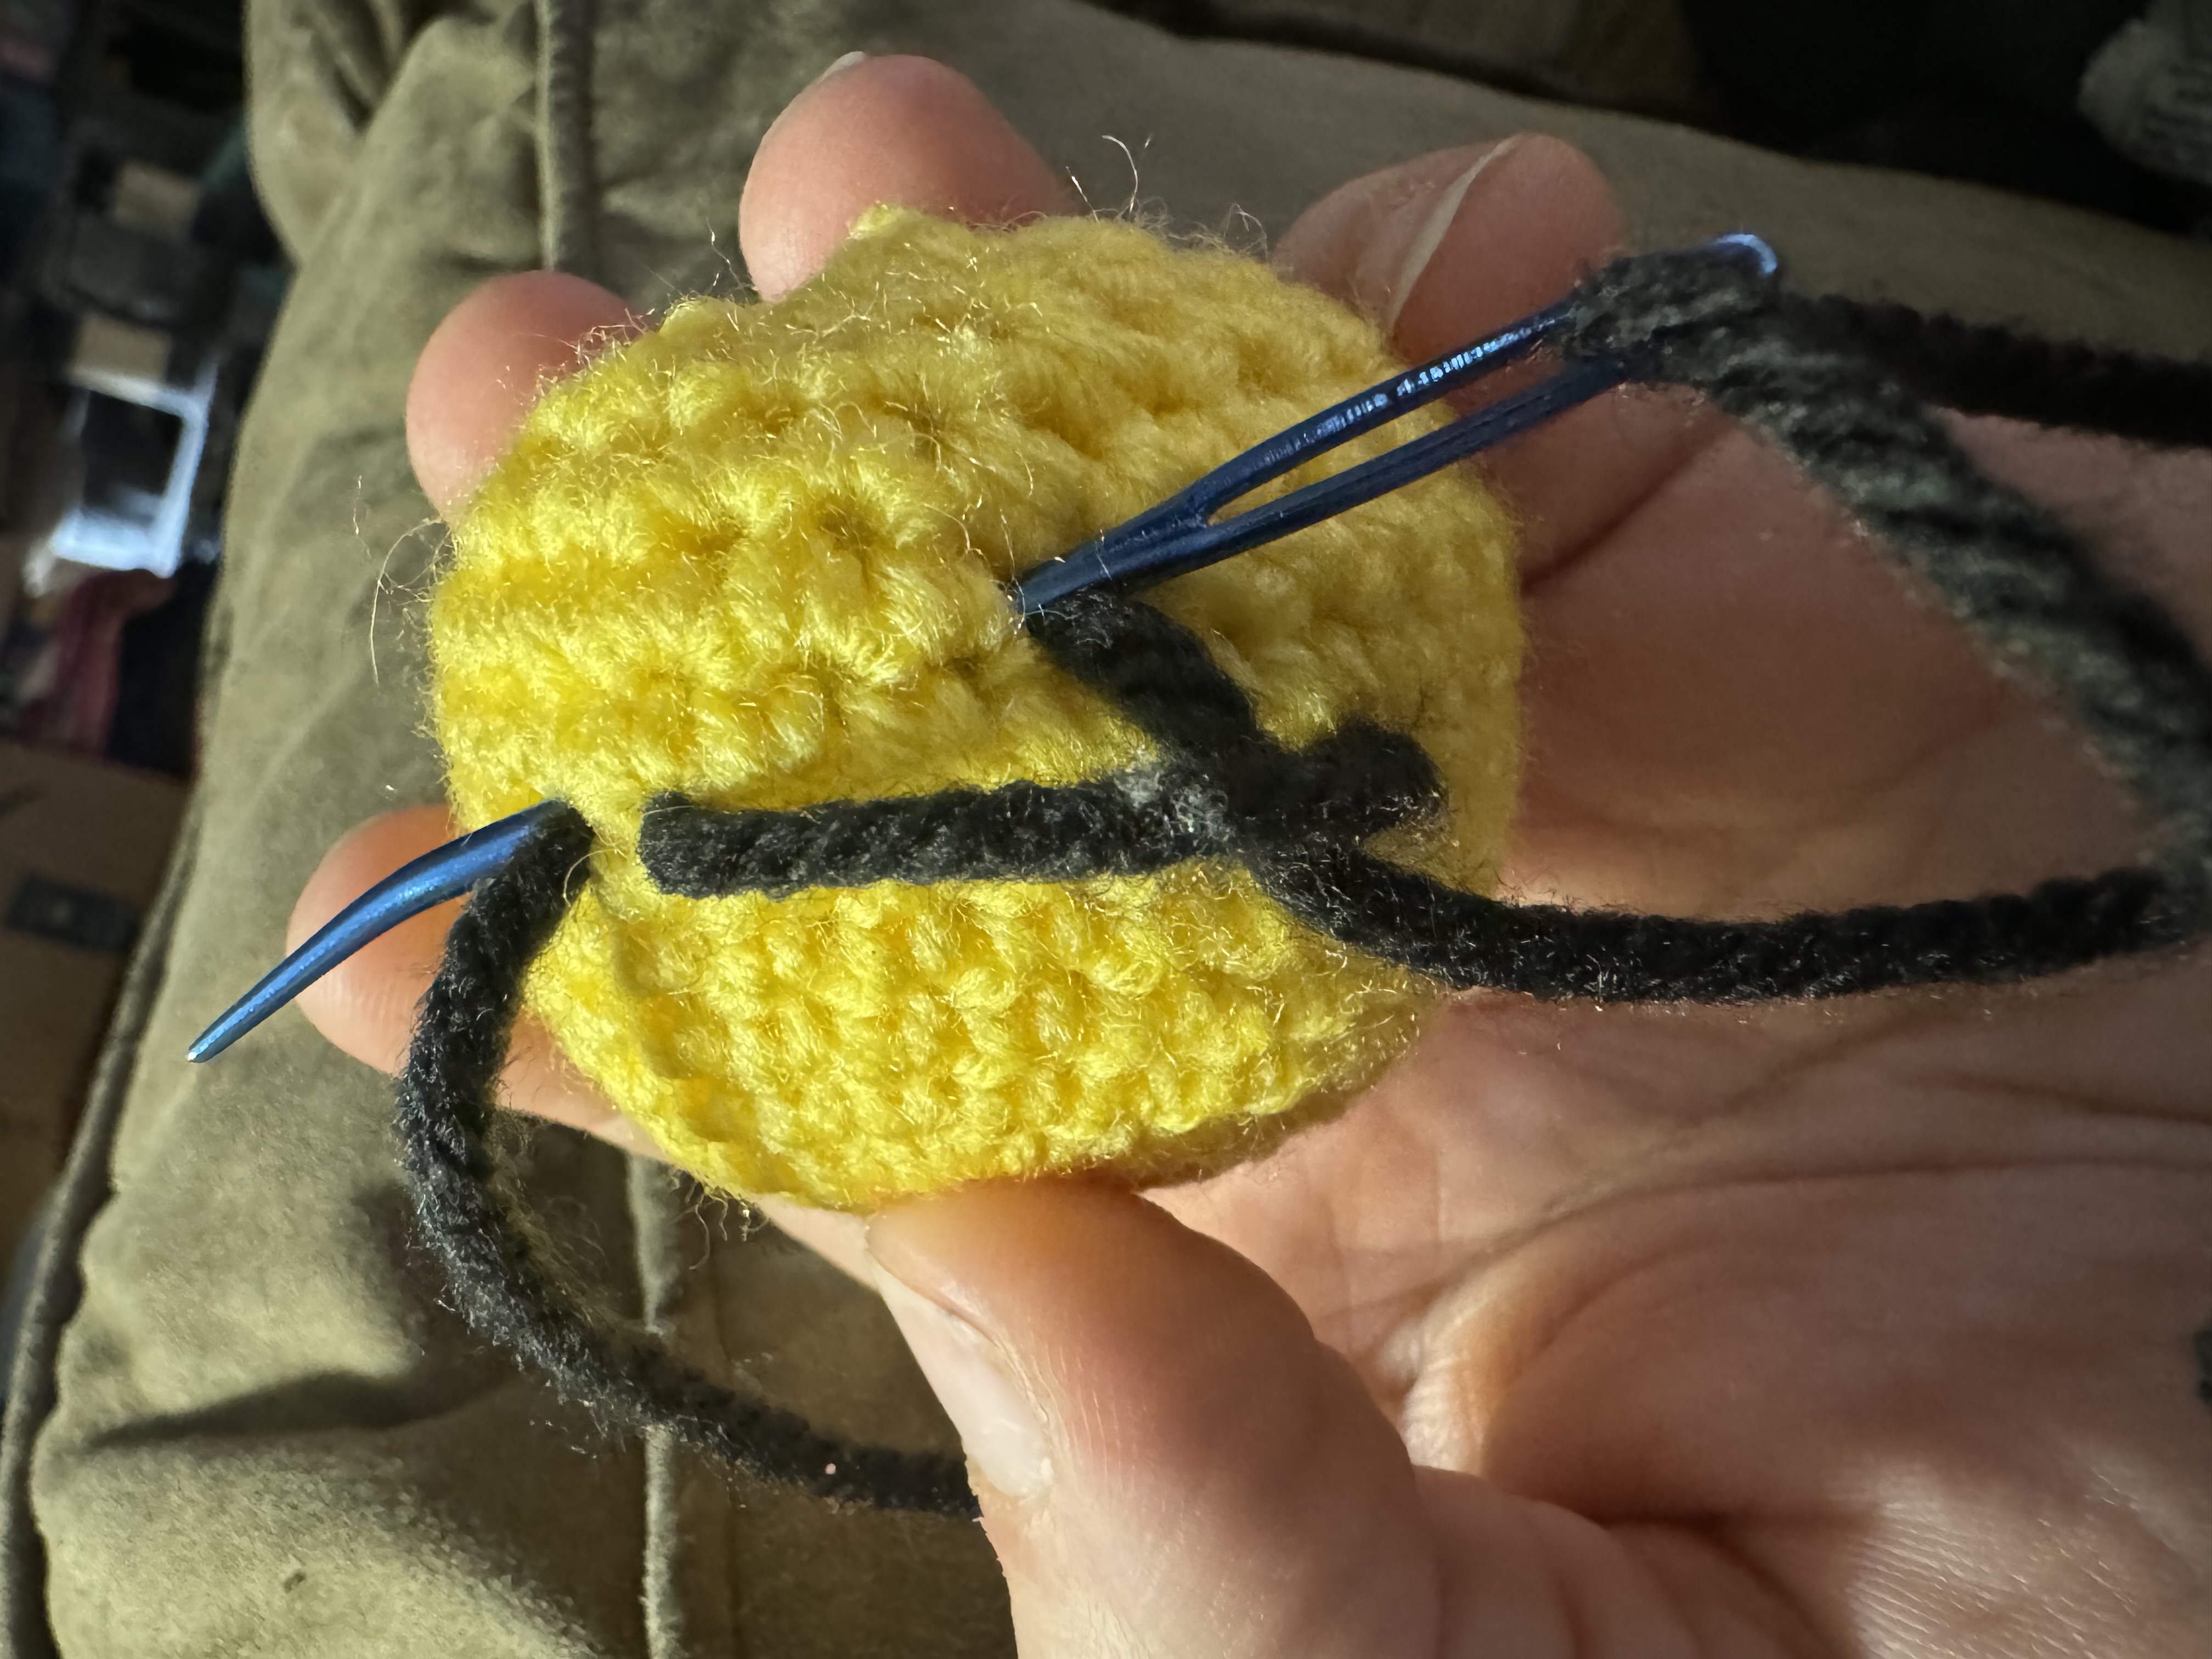
Enter back in through the hole you came out of and then exit the same hole you started the yarn in. knot the yarn.
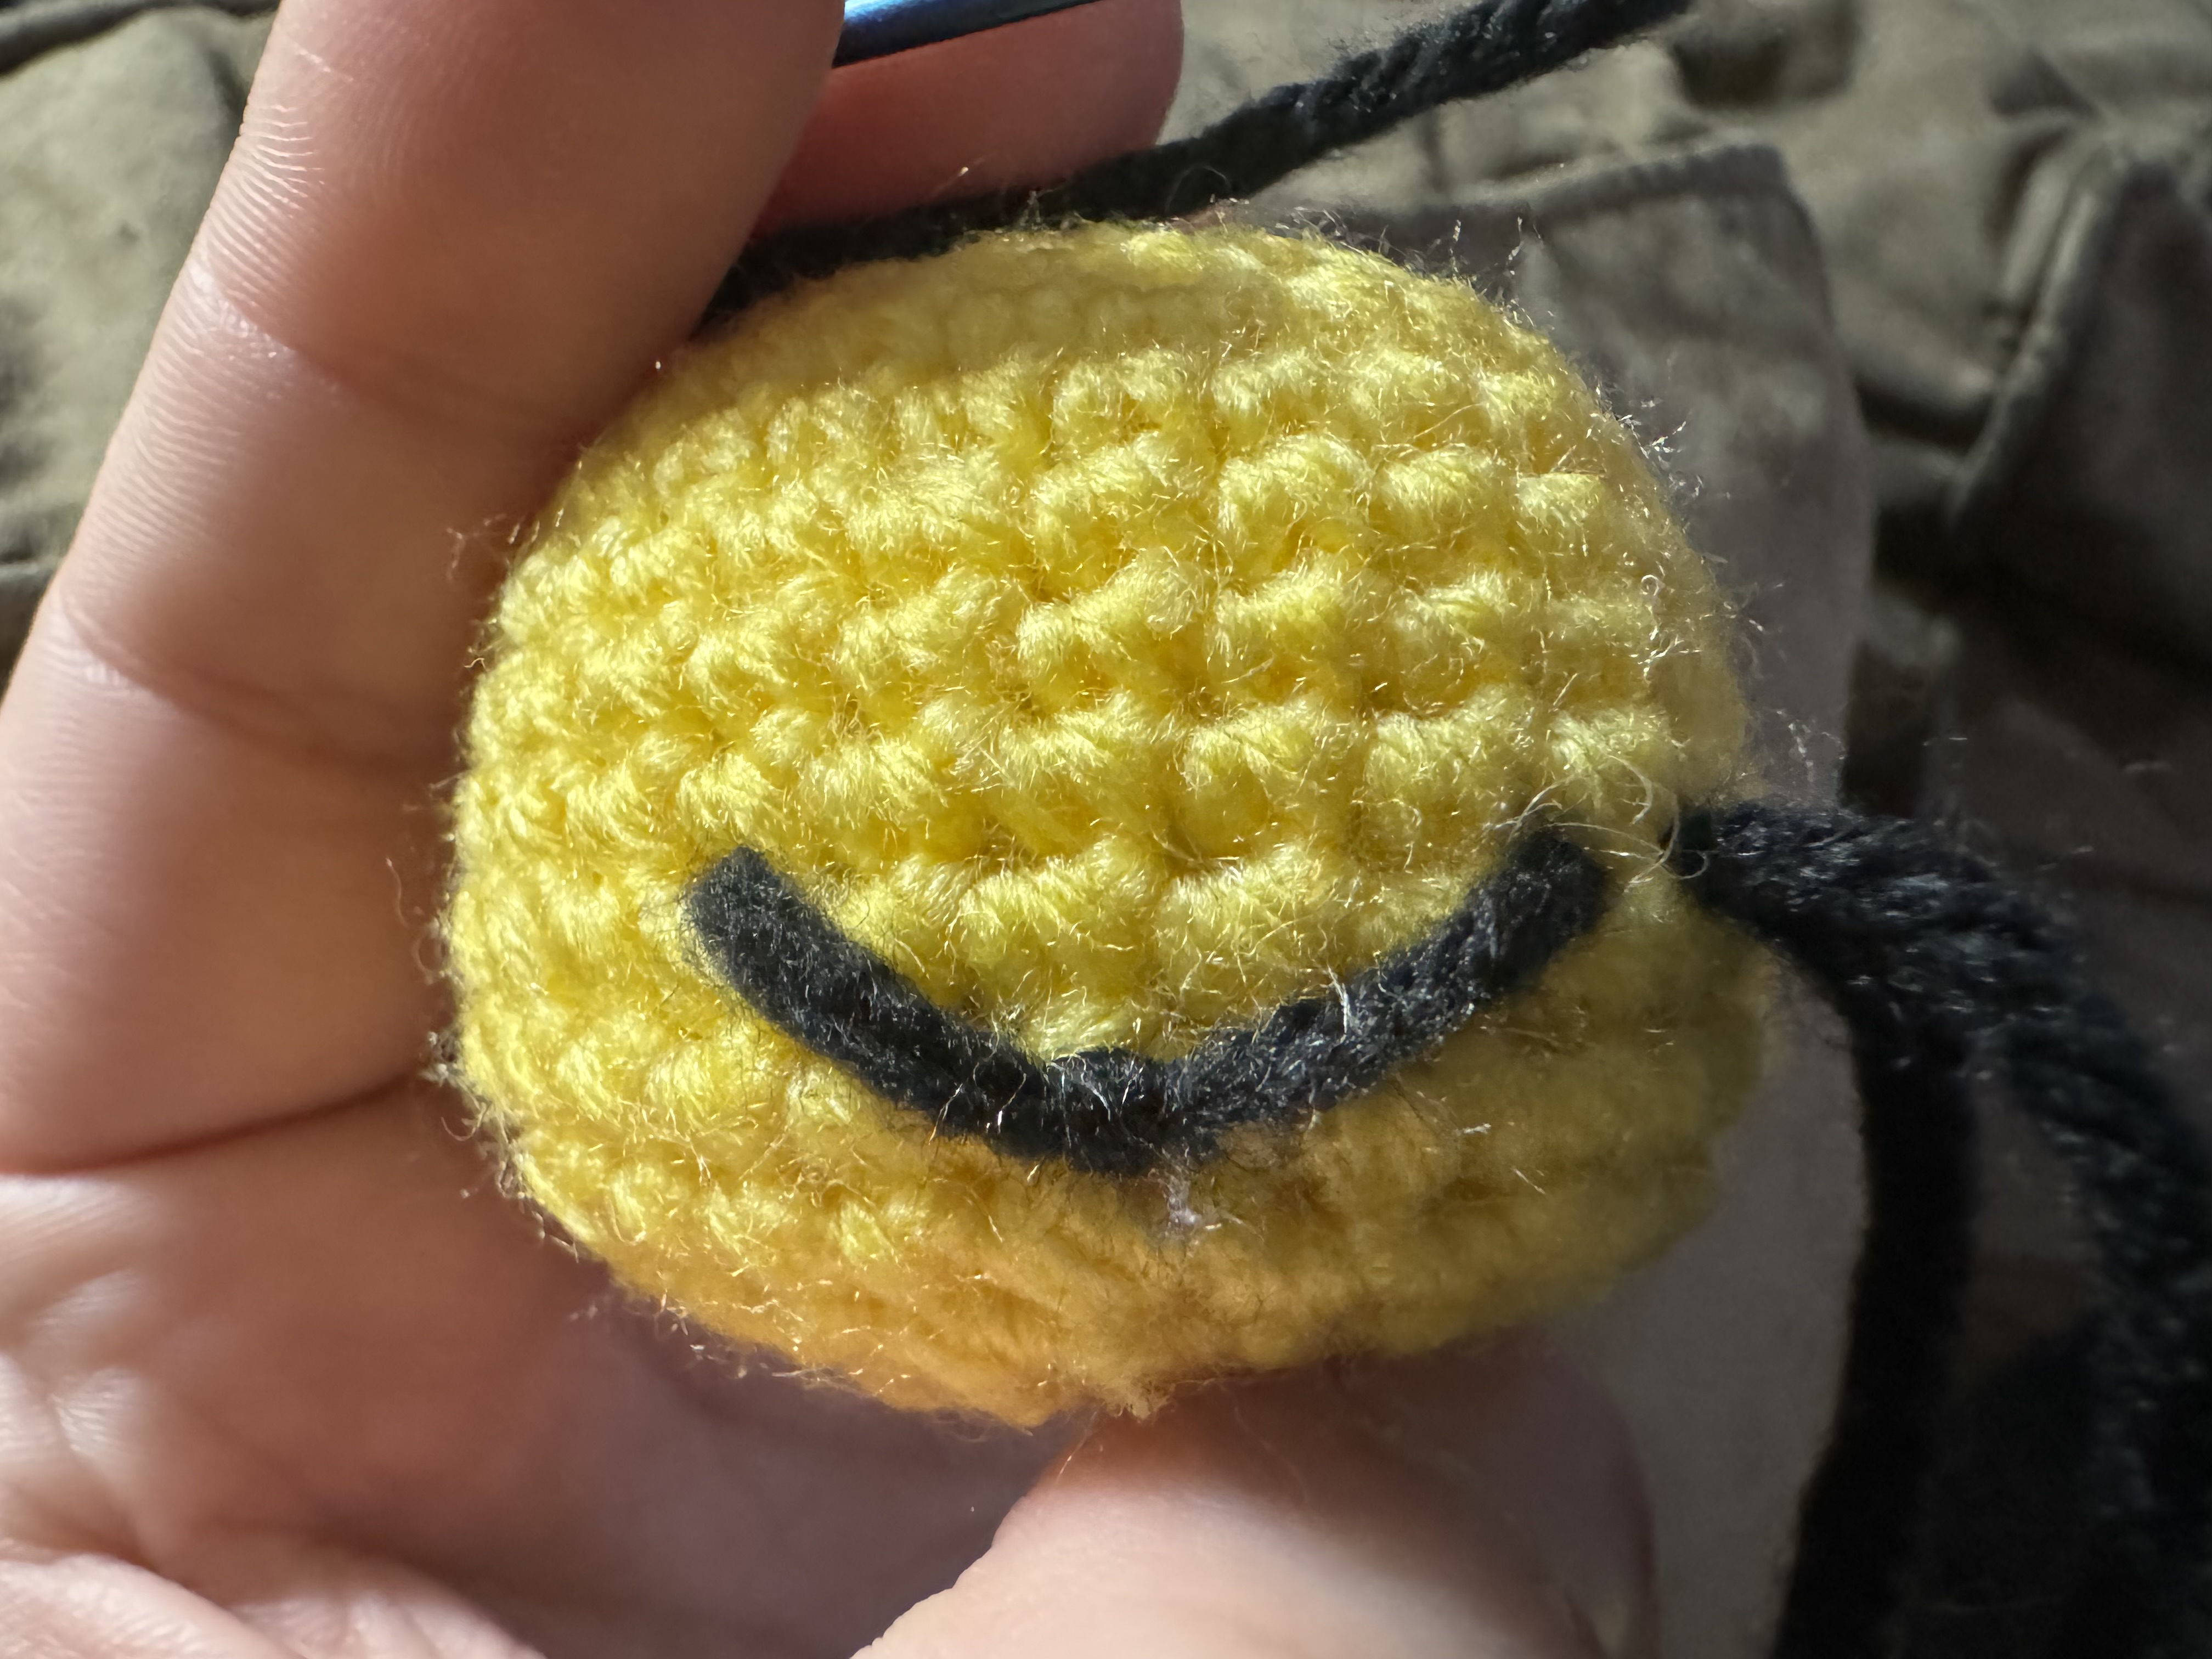
You can bring the yarn bac through and exit row 7, over from the end of the smile. Make two knots that are next to each other and slide the yarn in through row 6 come out 2 stitches over in row 6. Make two knots next to each other and pop it back in at row 7. You can come out the hole that you made that started the whole embroidery. Knot off the yarn and clip some excess and pull it into the project to be lost for all eternity.

Pokeball crochet pattern
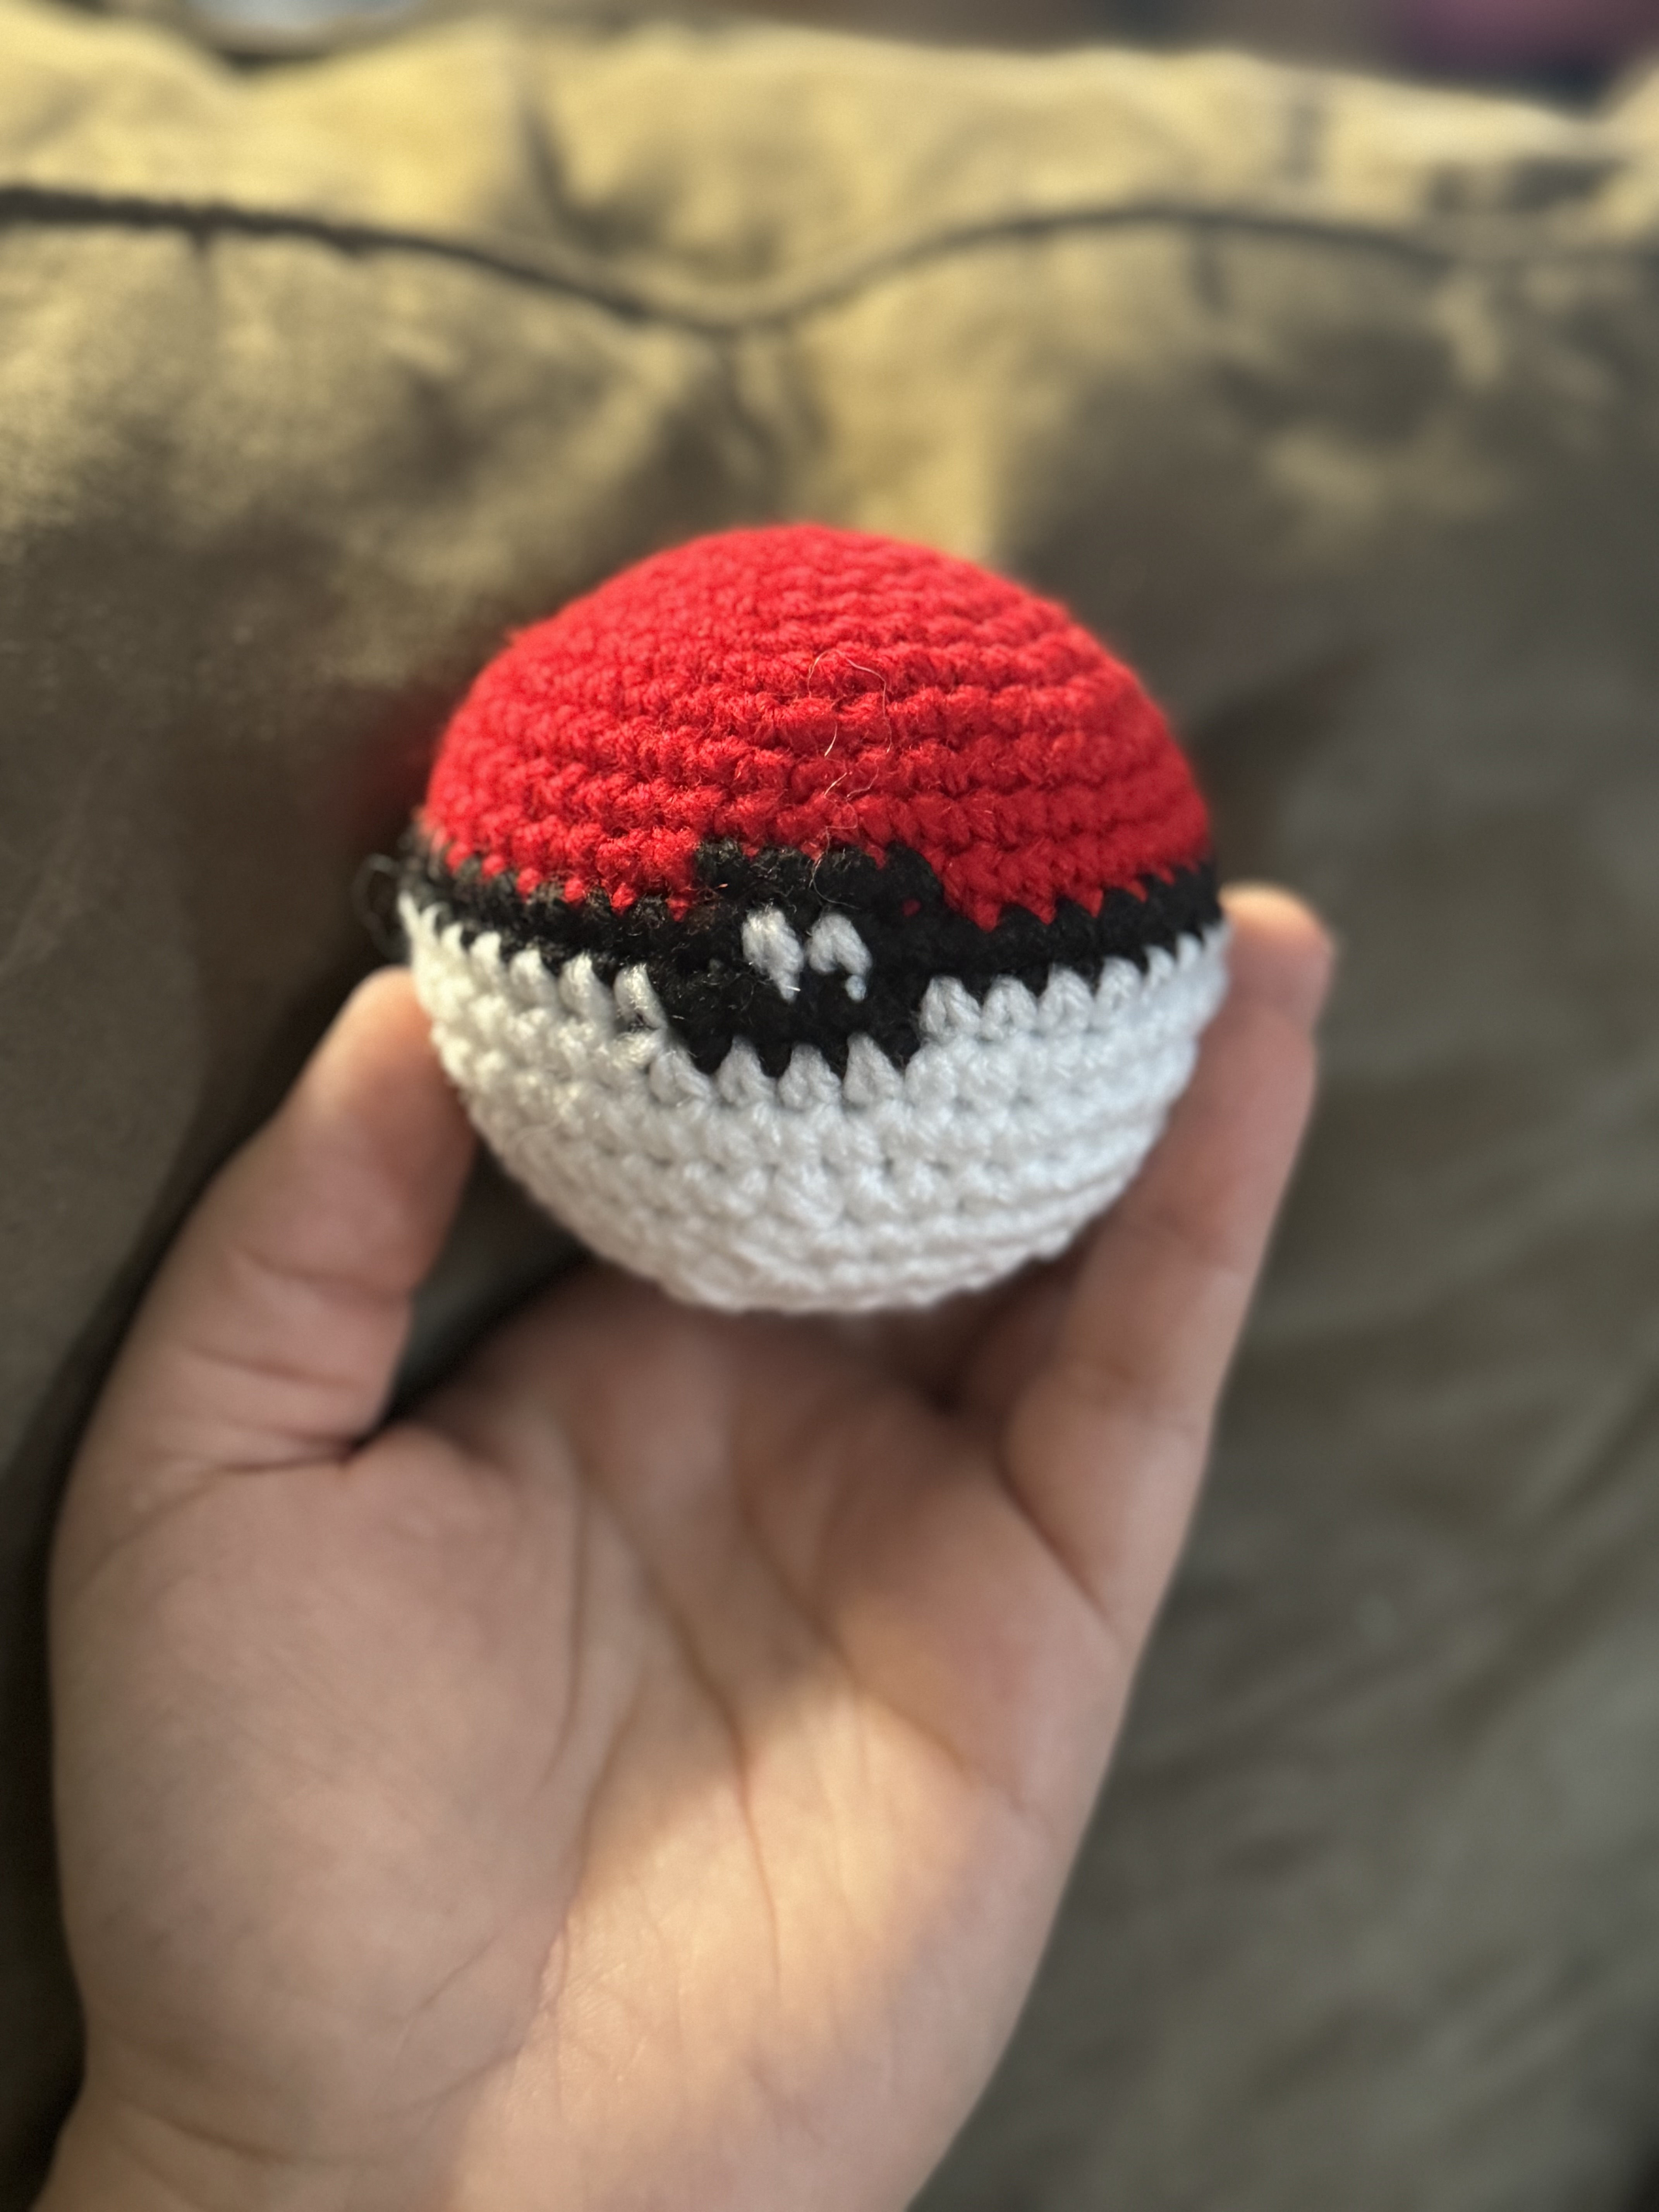
Hook: 3.25 mm D
medium weighted yarn
Row 1: make a magic ring and make 6 SC. (6)
Row 2: INC in each ST around. (12)
Row 3. SC in 1 ST, INC in the next, repeat around. (18)
Row 4: SC in 2 ST, INC in the next, repeat around. (24)
Row 5: SC in 3 ST, INC in the next, repeat around. (30)
Row 6: SC in 4 ST, INC in the next, repeat around (36)
Row 7: SC in 5 ST, INC in the next, repeat around. (42)
Row 8-9: SC in each stitch around. (42)
Here is where the coloring changin jacquard method starts.
Row 10: SC in 19 ST (black) SC in 4 ST, SC in 19 ST. Switch to black (42)
You can tie off the red you wont need it anymore.
Row 11: (black) SC in 20 ST, (white) SC in 2 ST, (black) SC in 20 ST. (42)
Row 12: (black) SC in 1 ST, (white) SC in 18 ST, (black) SC in 4 ST, (white) SC in 19 ST (42)
For the remainder of the project you will be working with white.
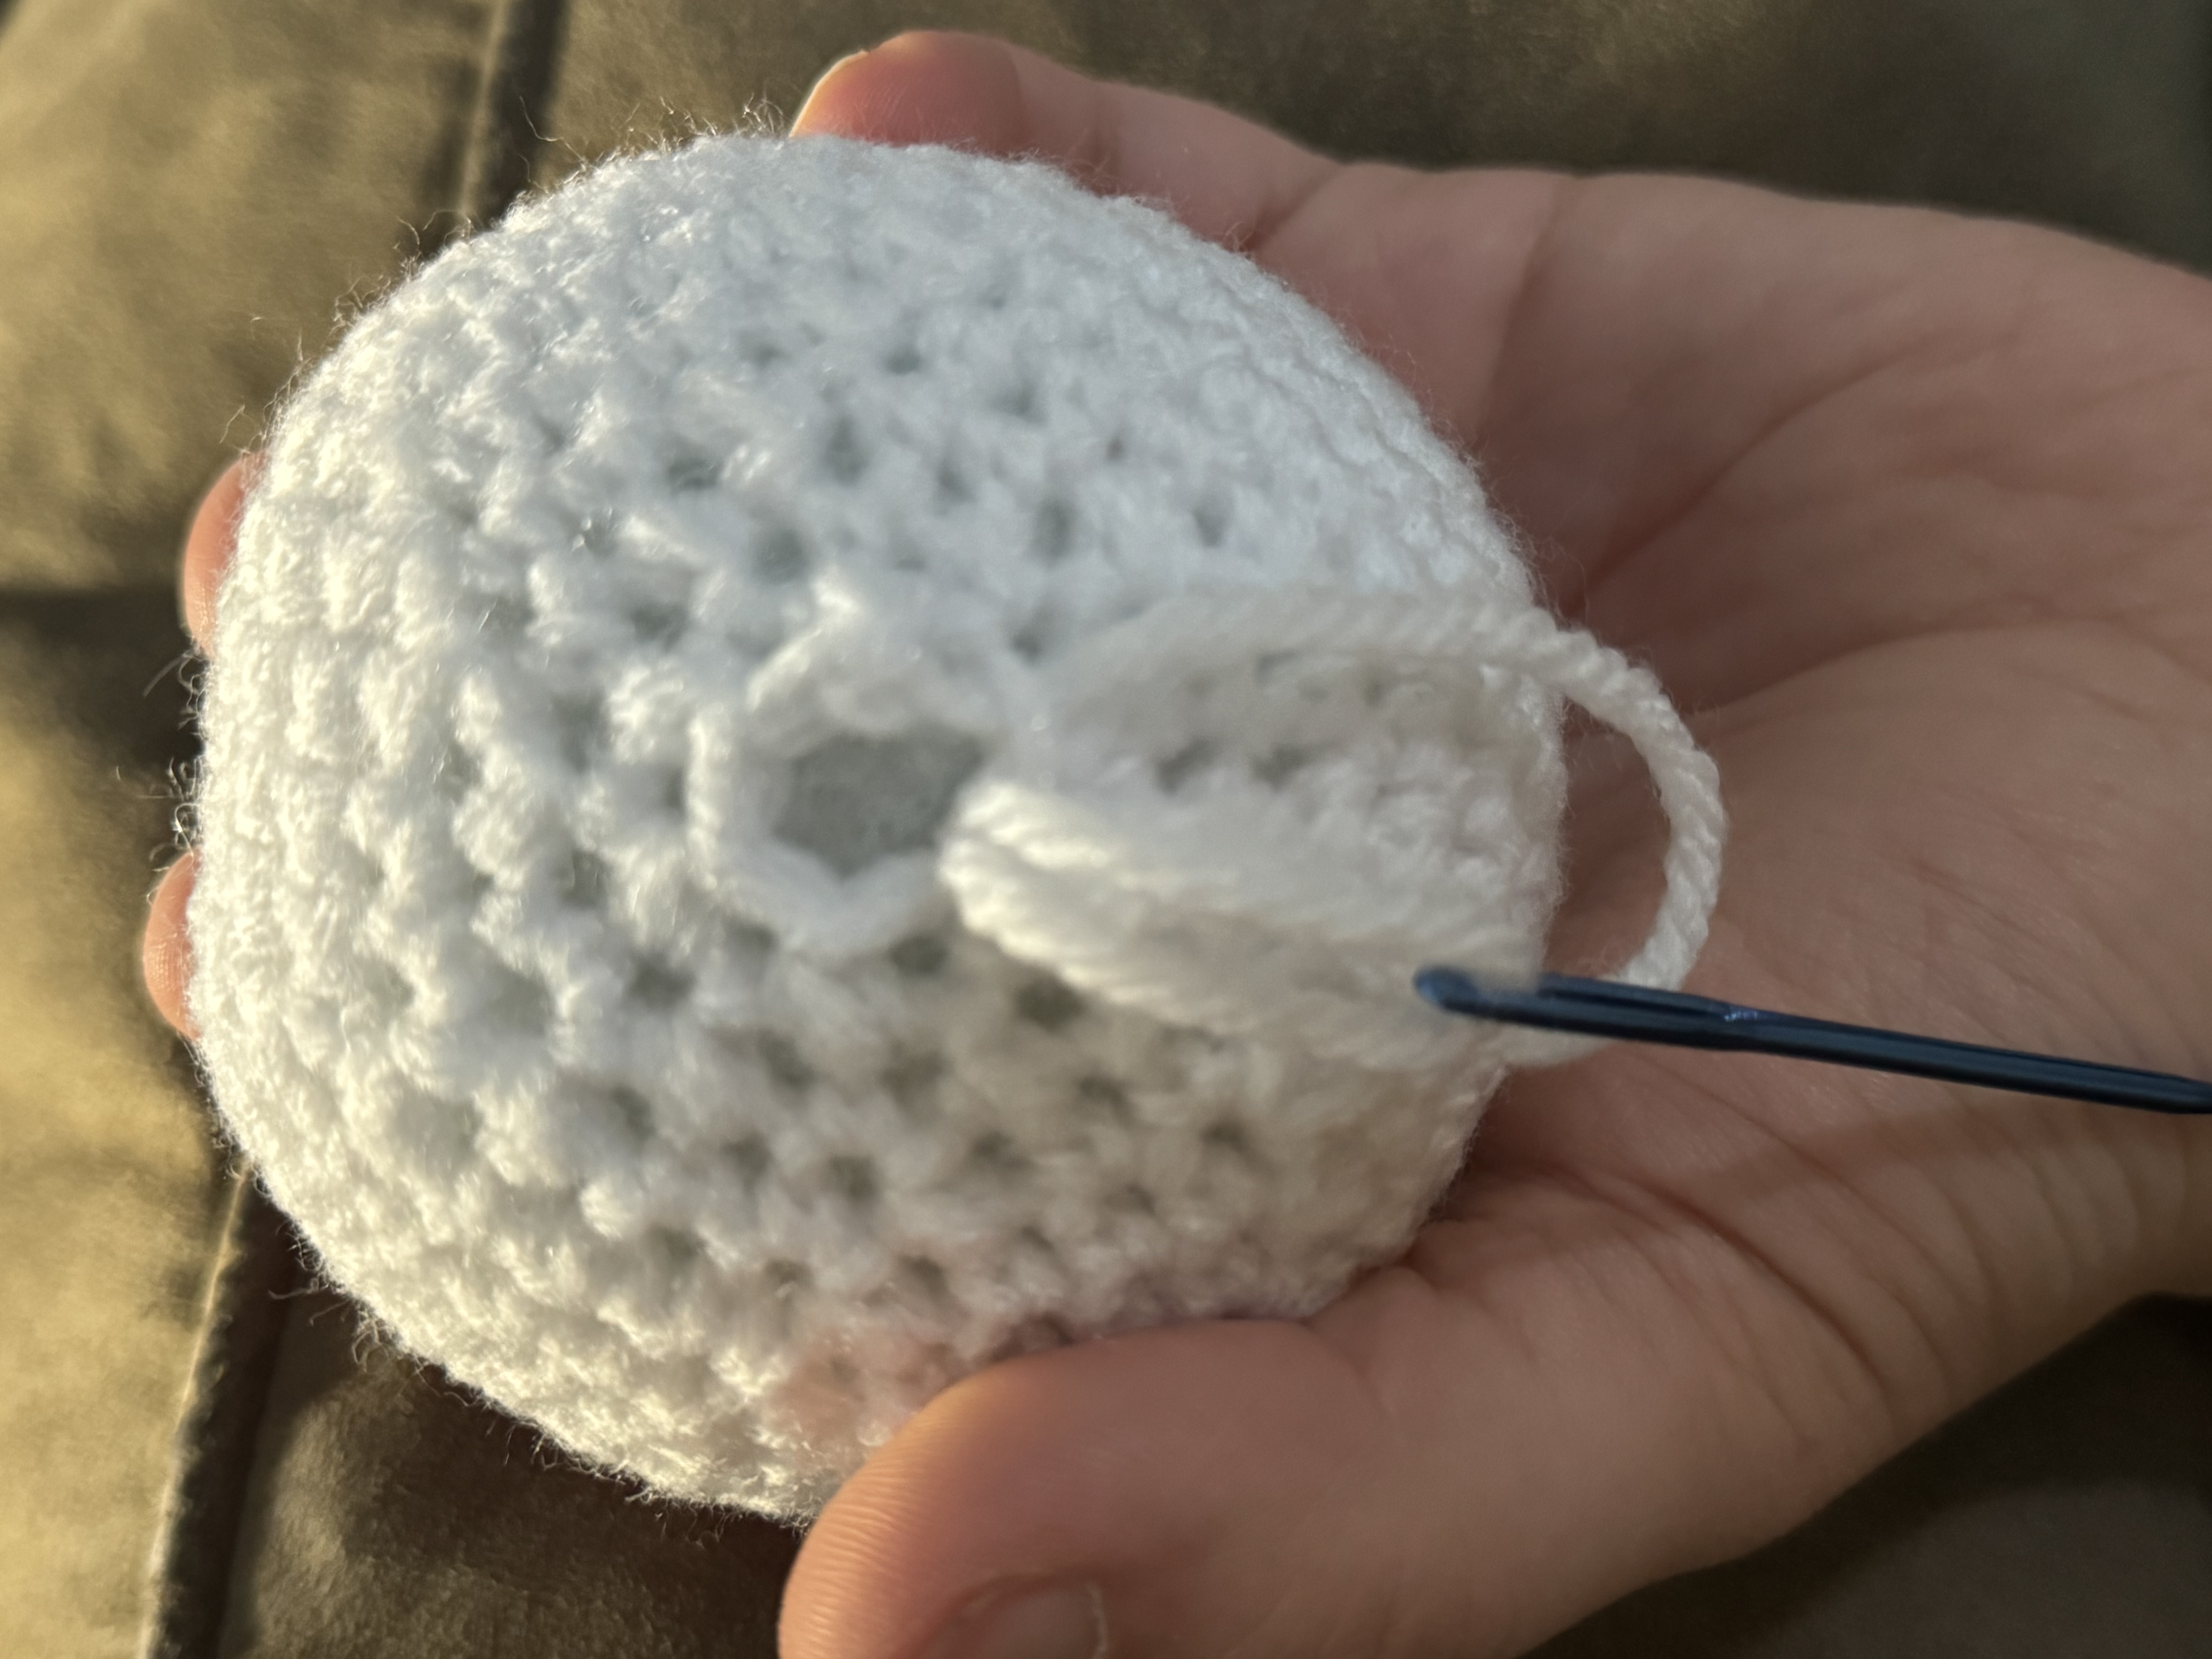
I like to cut the pieces across the indside of the project and tie them off. You don't need to do this is your yarn is loose enough. That is just my preference.
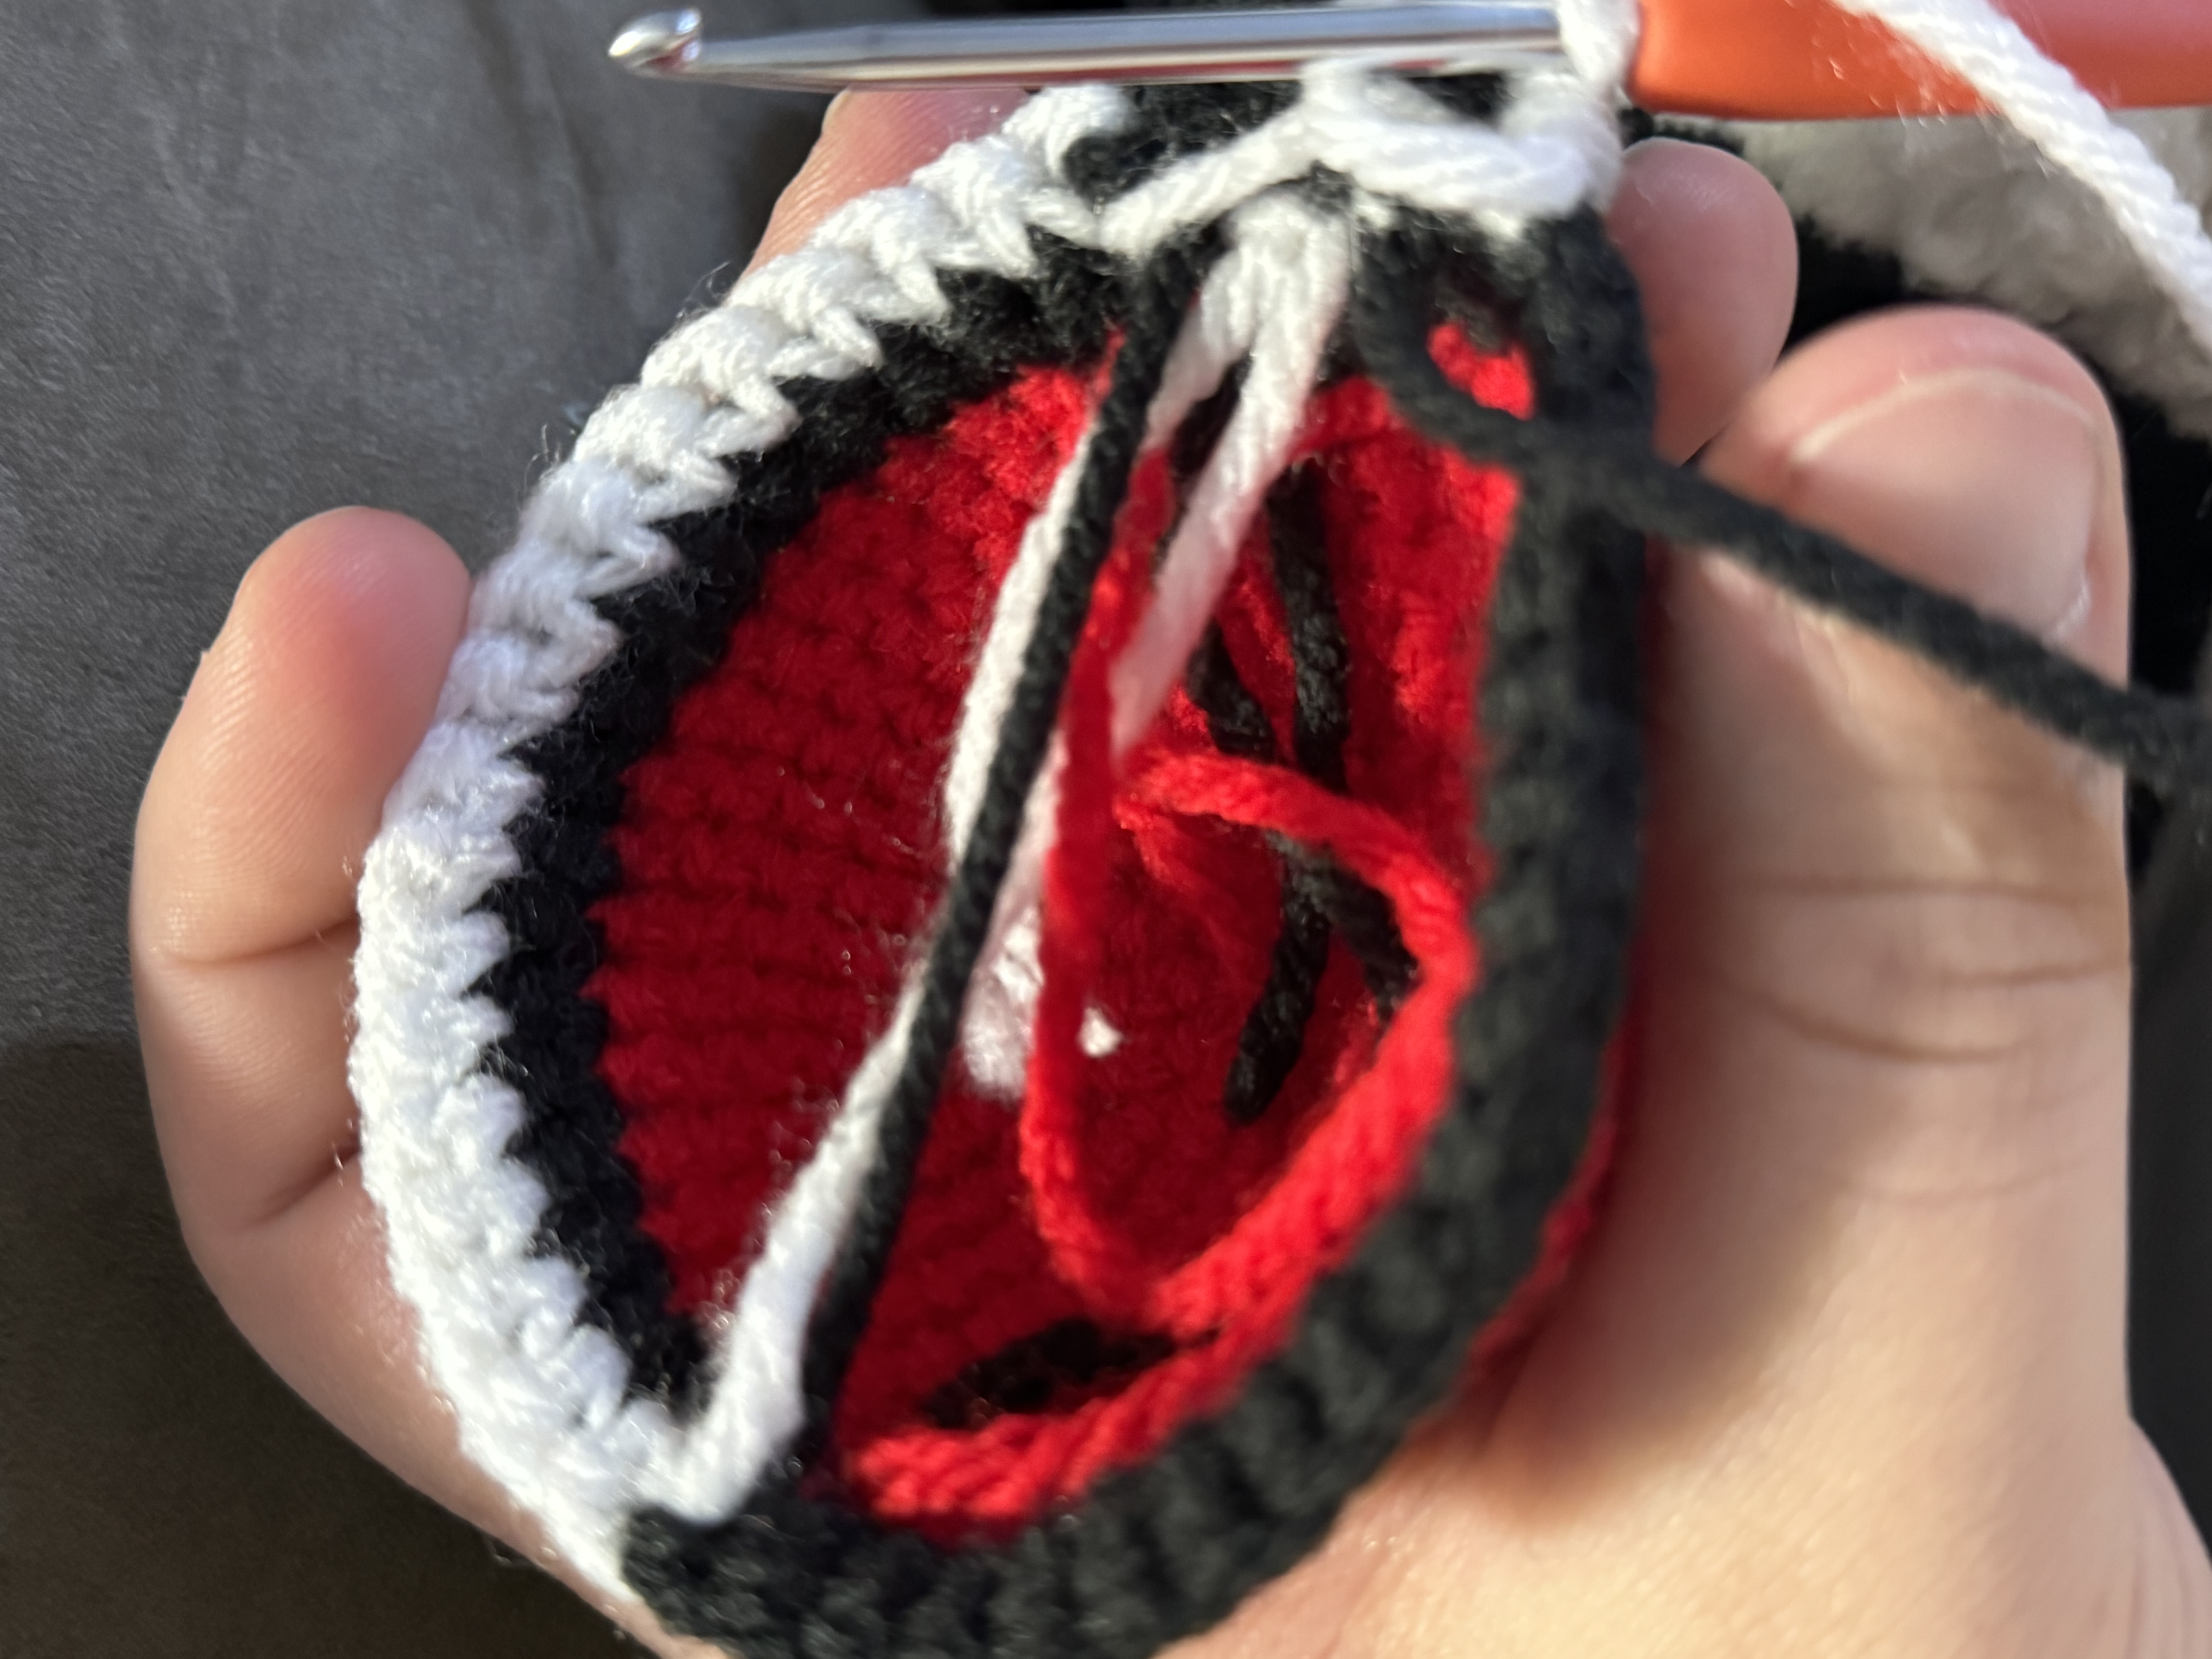
Row 13-14: SC in each ST around. (42)
Row 15: SC in 5 ST, DEC in the next, repeat around (36)
Row 16: SC in 4 ST, DEC in the next, repeat around. (30)
Row 17: SC in 3 ST, DEC in the next, repeat around (24)
Row 18: SC in 2 ST, DEC in the next, repeat around (18)
Start stuffing the pokeball you want it firm enough to hold shape.
Row 19: SC in 1 ST, DEC in the next, repeat around (12)
Row 20: DEC in each ST. (6)
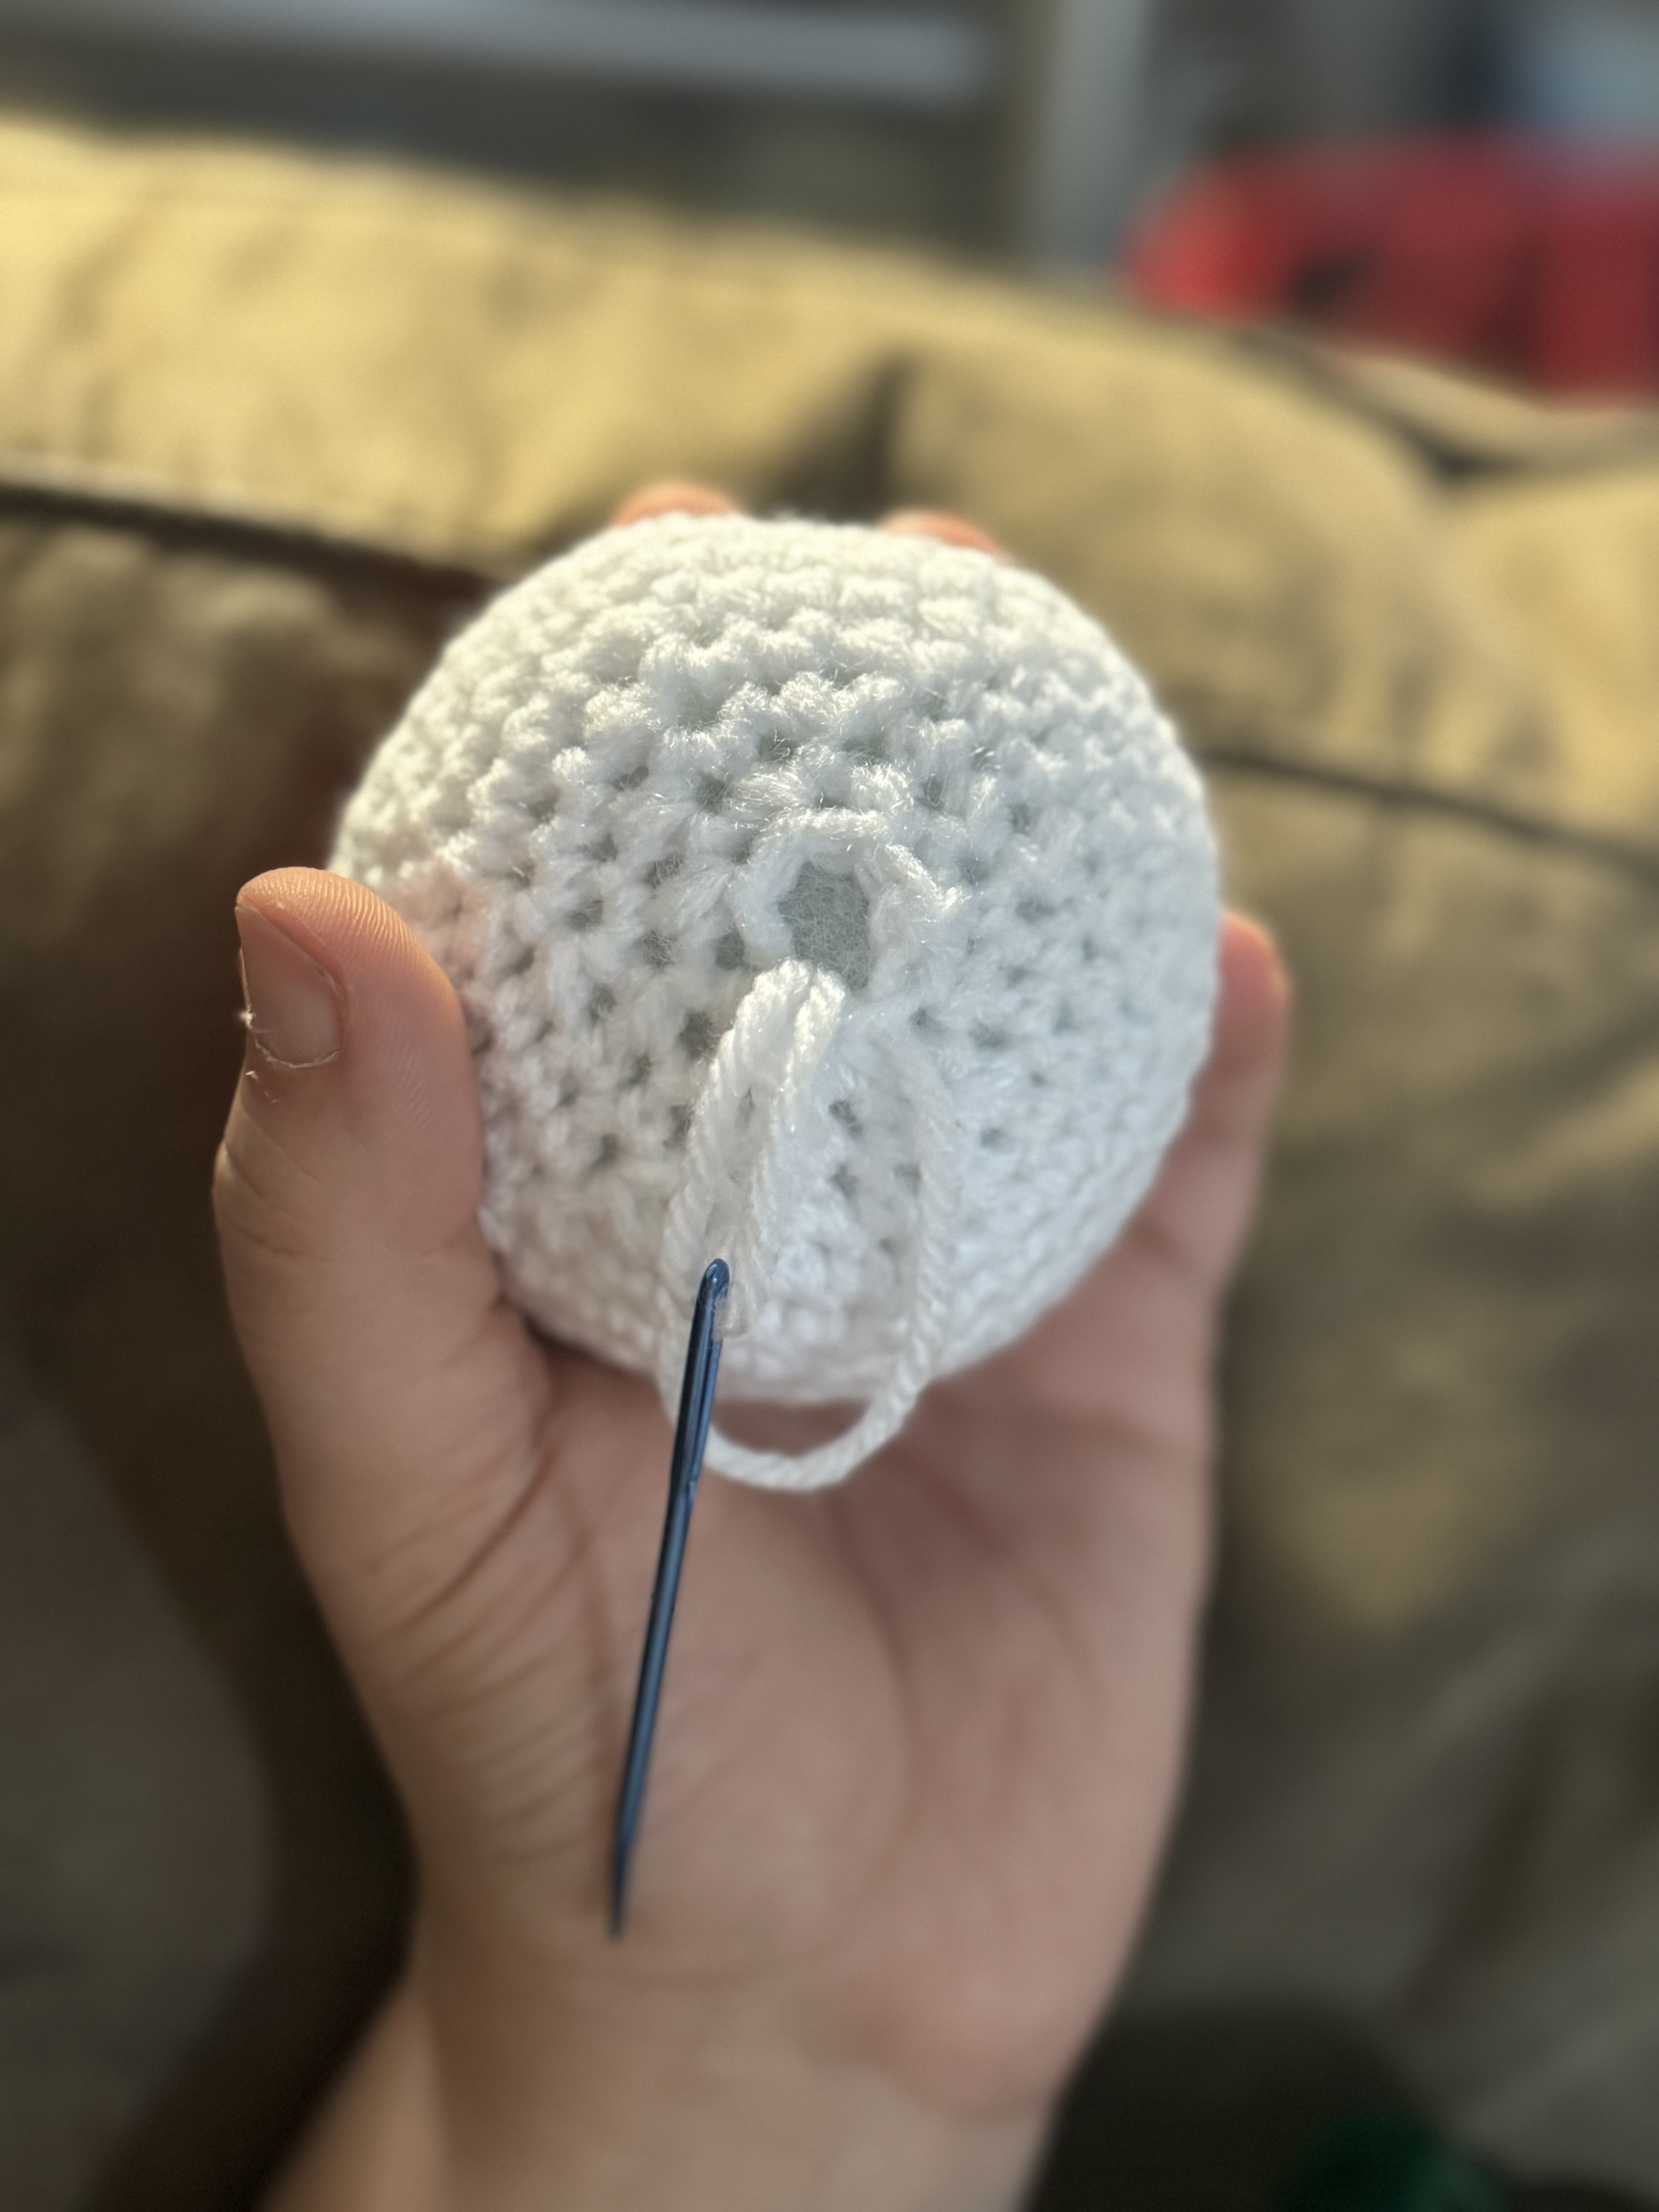
Fasten off and weave the yarn through the last row to close the hole. Tie off and weave the excess into the pokeball.
